Setting up clients and managing them
The clients are the building blocks of the company and managing every client is not easy. No worries, cutehr is here to help you out. Adding and managing the clients for your company is really easy. And managing clients using cutehr is simply fun. To Add and manage your clients in cutehr follow the steps below.
Adding Clients
You will get the client for copany's internal projects.
To add clients to your workspace follow these basic steps.
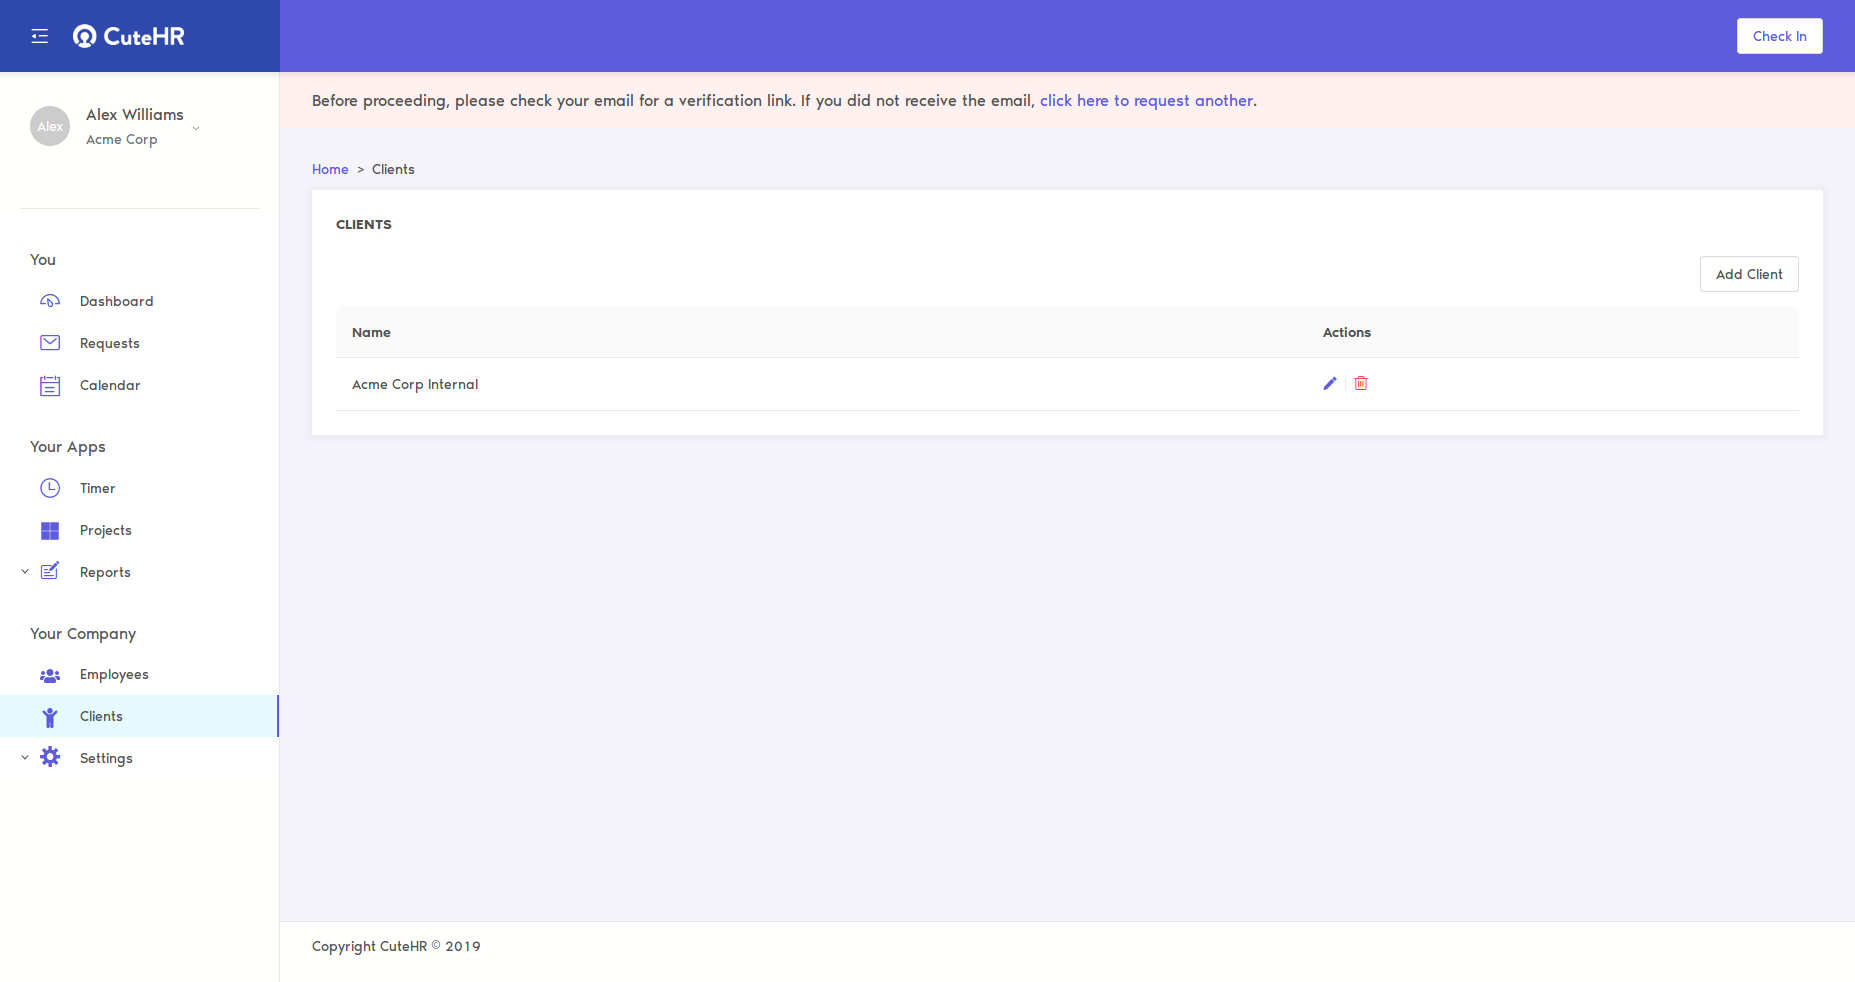
First of all, click on the client menu from the sidebar, now you are on clients page.
To add client, click "Add Client" button and add basic information about client, like client name, contact name(name of person to be contacted), email, etc.
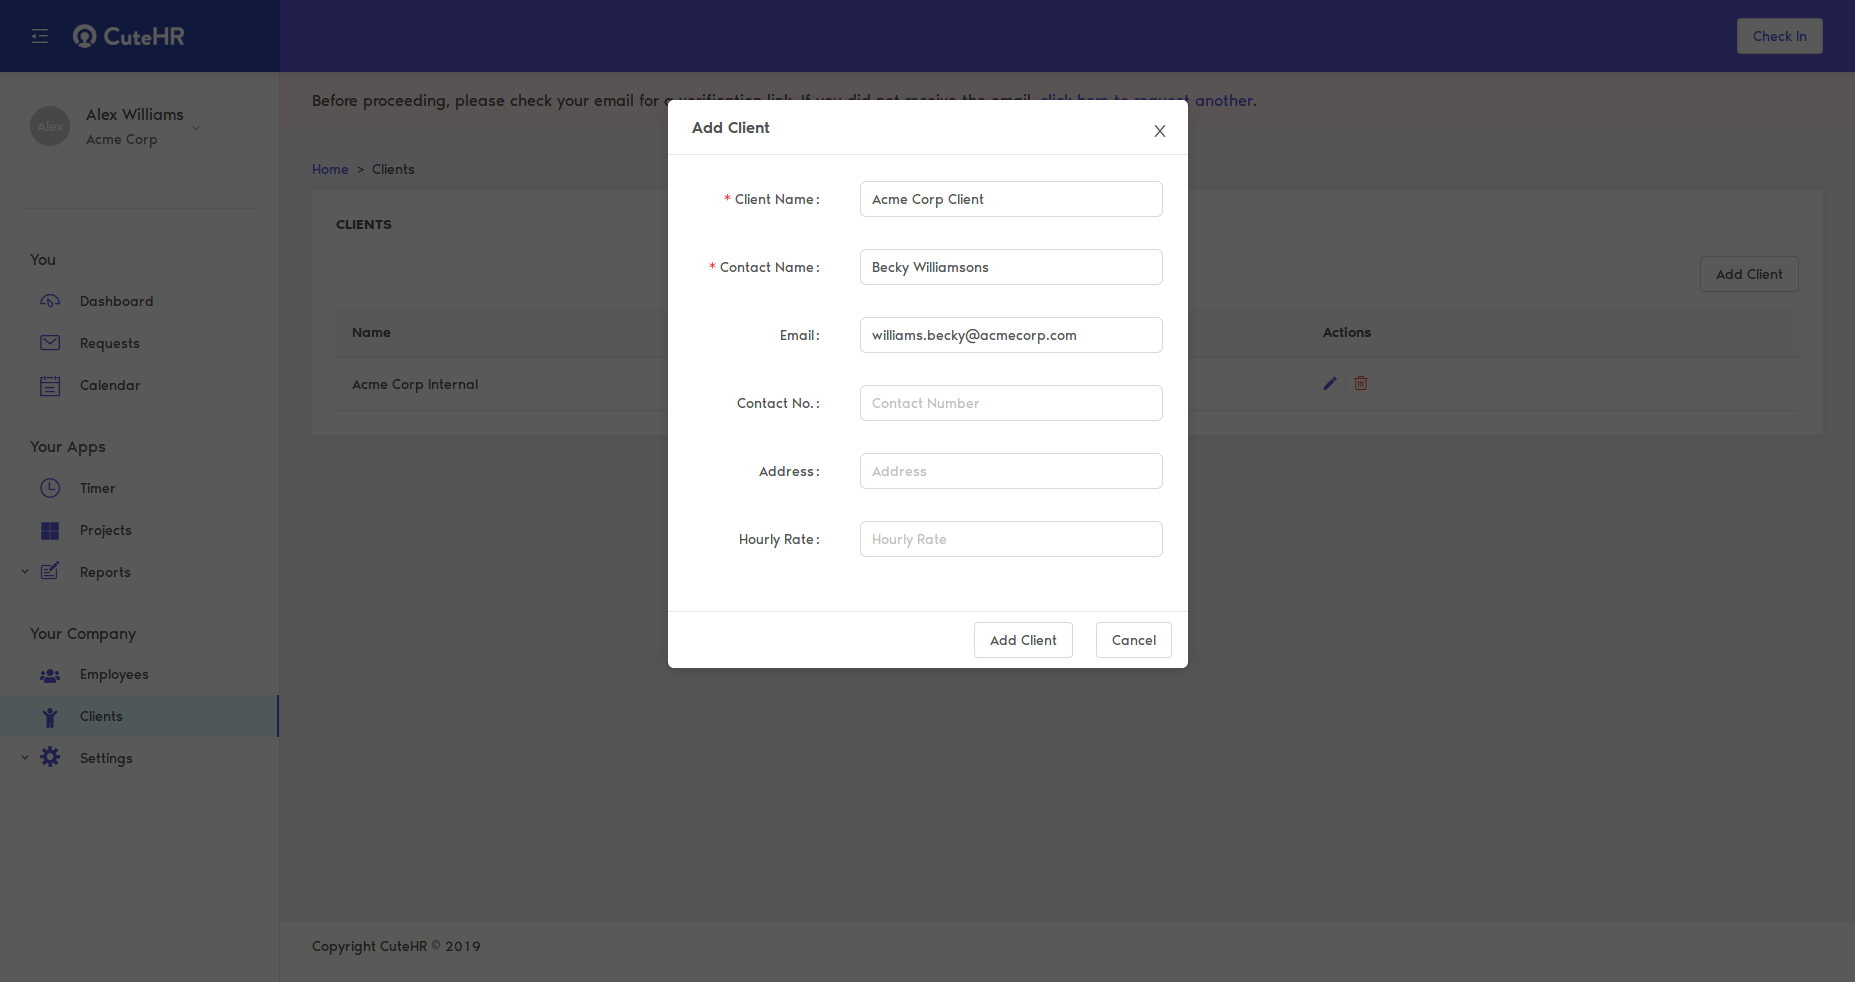
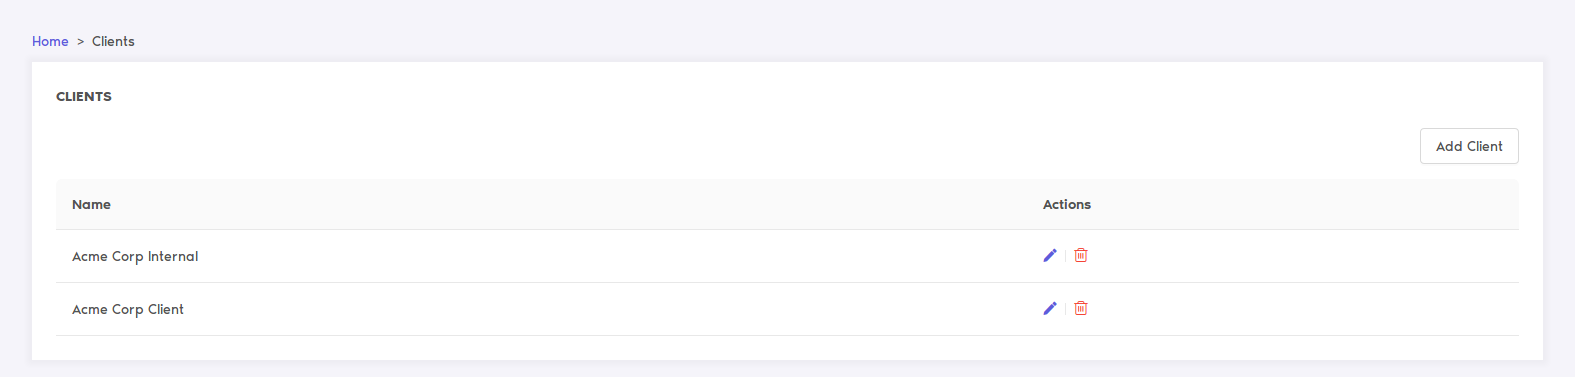
After filling all the information, simply hit the "Add Client" button. Now, as you can see the client is added.
Editing Clients
Editing clients via cutehr is as simple as adding one, you can edit the client from the lists of client available.
To edit the client click the pencil icon against the client which you want to edit. After clicking edit the information in the pop up appeared. After editing all the information needed click the "Edit Client" button.
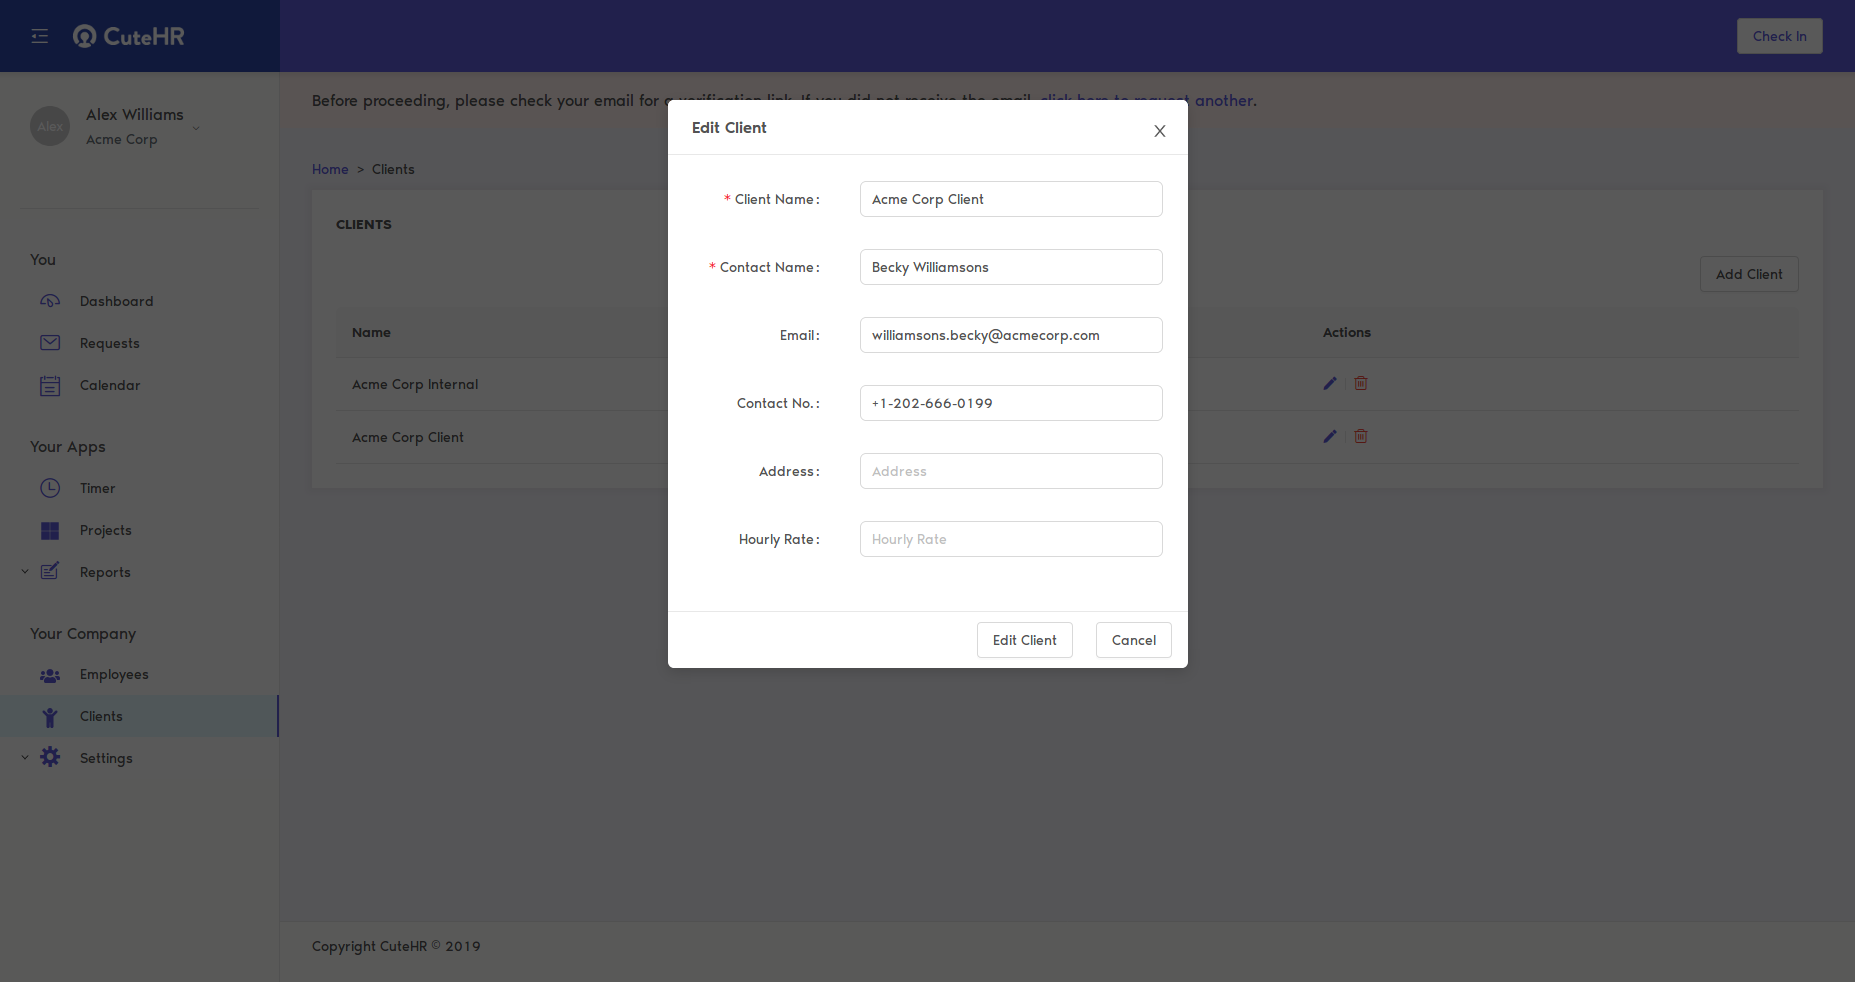
The client is now edited with the latest information provided.
Deleting Clients
You can delete the clients with which your company is no longer working, for any reasons whatsoever. For deleting the clients process is simple, follow below steps
For deleting any client, click on the bin icon present against the client name.
After clicking the icon, a confirmation popup will appear. Confirm the deletion of the client.
Once you have confirmed the popup, the client is deleted from your workspace and will no longer be accessible.
No Comments