I am a HR/Manager
- Setting up your company and offices
- Adding more workspaces
- Setting up employees
- Setting up Custom Fields for Employee
- Setting up Attendance Managment
- Add Leaves Policies
- Adding Leave Types
- Setting up clients and managing them
- Setting up Projects
- Managing Employees for Projects
- Setting up Team Event
Setting up your company and offices
The very first step after signing up to cutehr is adding company and offices. Adding company and offices is easy. Follow the below instructions to add one.
Introduction
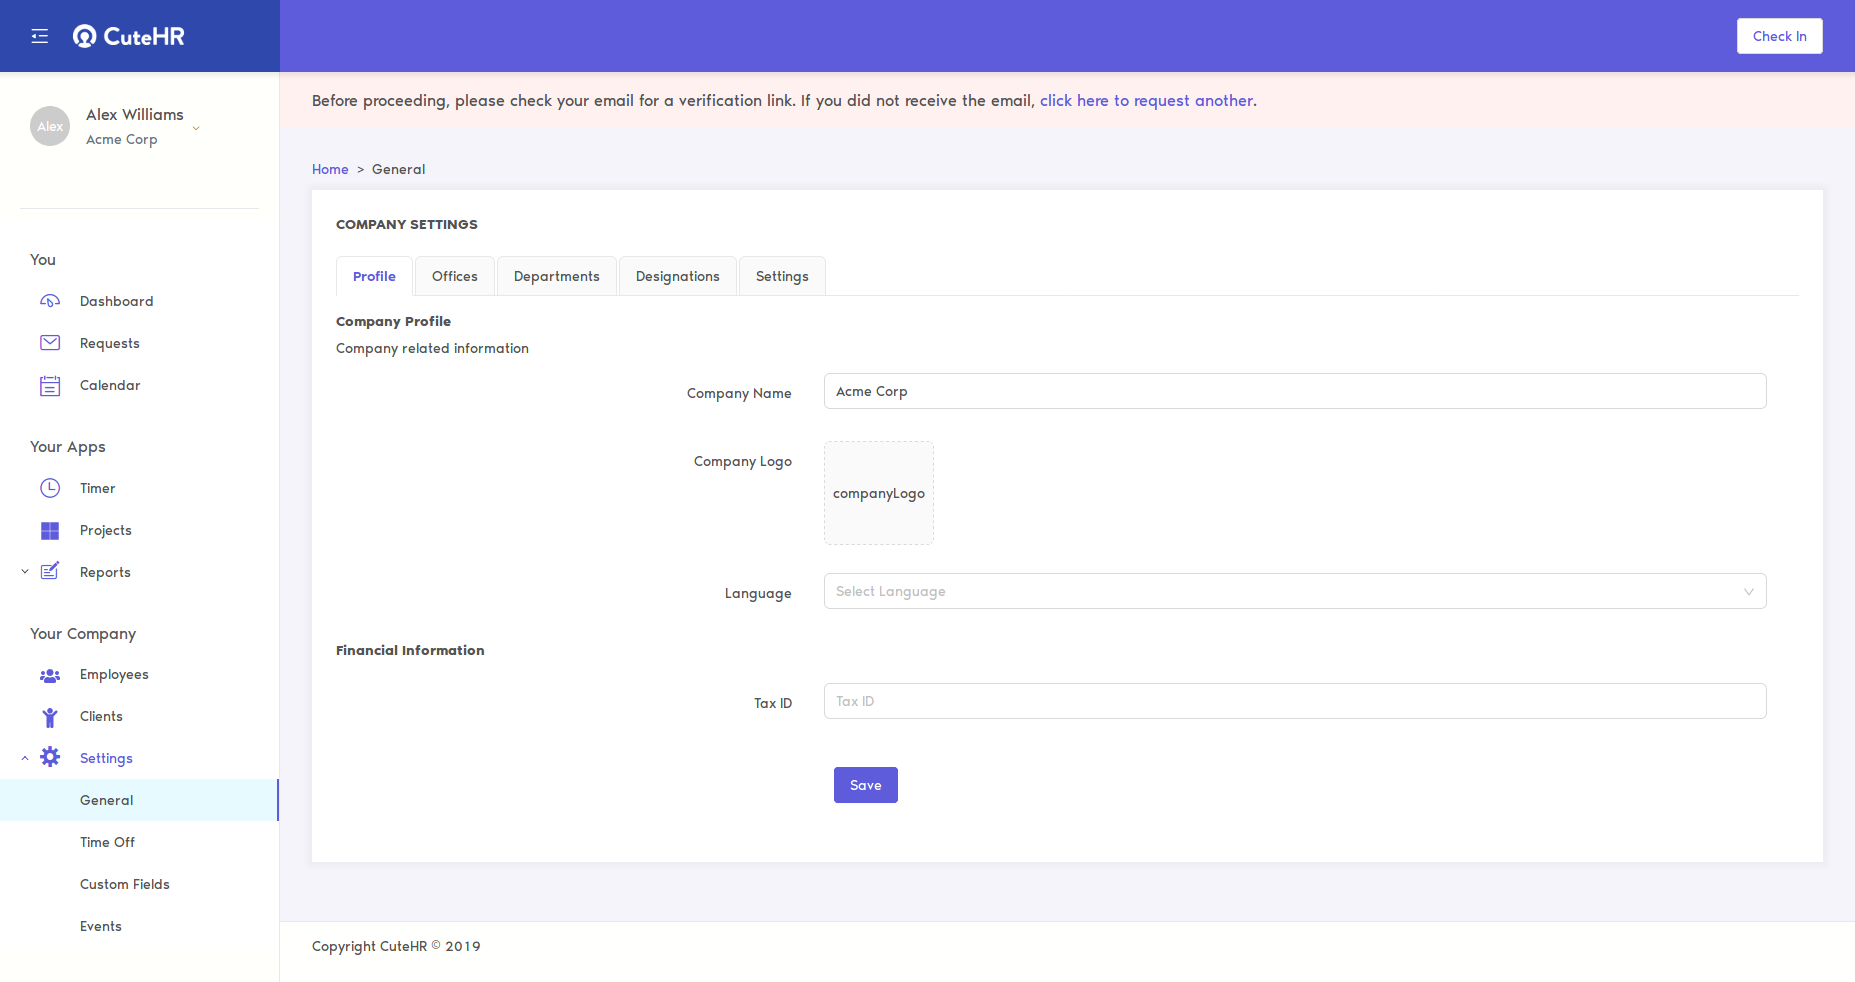
Once you have registered on cutehr, signin using your credentials. After signing in to your account, a popup, asking your company name, will appear. Enter your company name in the popup.

Now, as you have entered your company name, you can go to settings->General from the sidebar menu, to edit the company basic information like company name, company logo, language, etc.
You can also add offices to your company. To add offices go to settings->General from the sidebar menu and click offices tab. From here you can add or edit your offices details and their holidays.
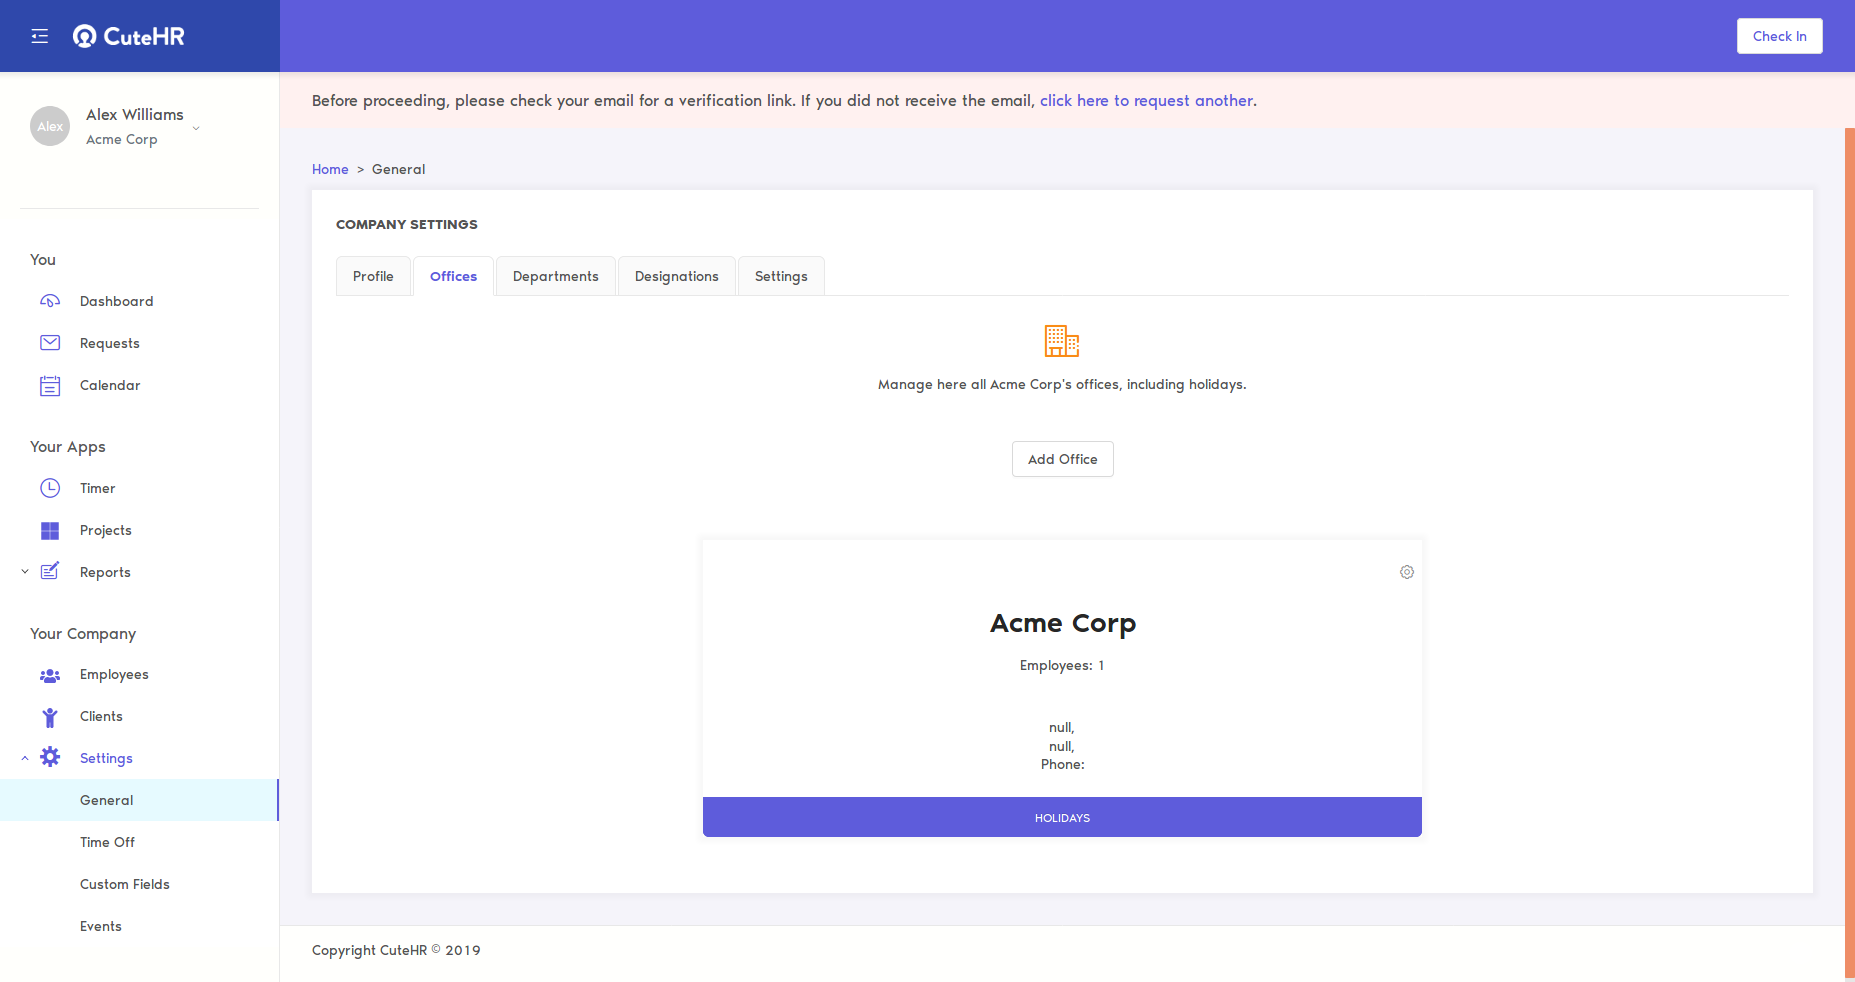
You may also, delete any office at any point of time by clicking cog wheel icon in top-right corner of office card and select delete(Note that office which is marked as "main" can not be deleted).
Editing your offices
Offices can be added for any company.
After adding the offices to your company, you can edit or delete the office at any point of time.
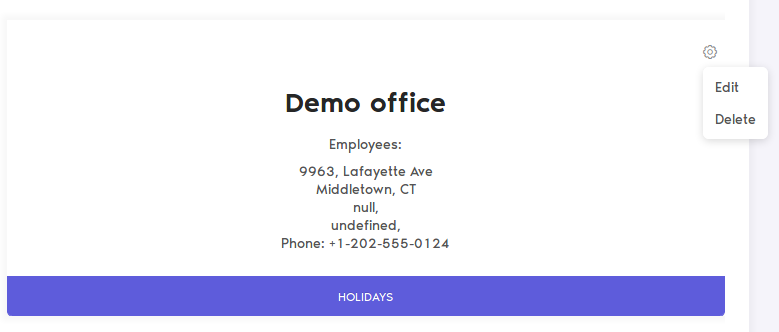
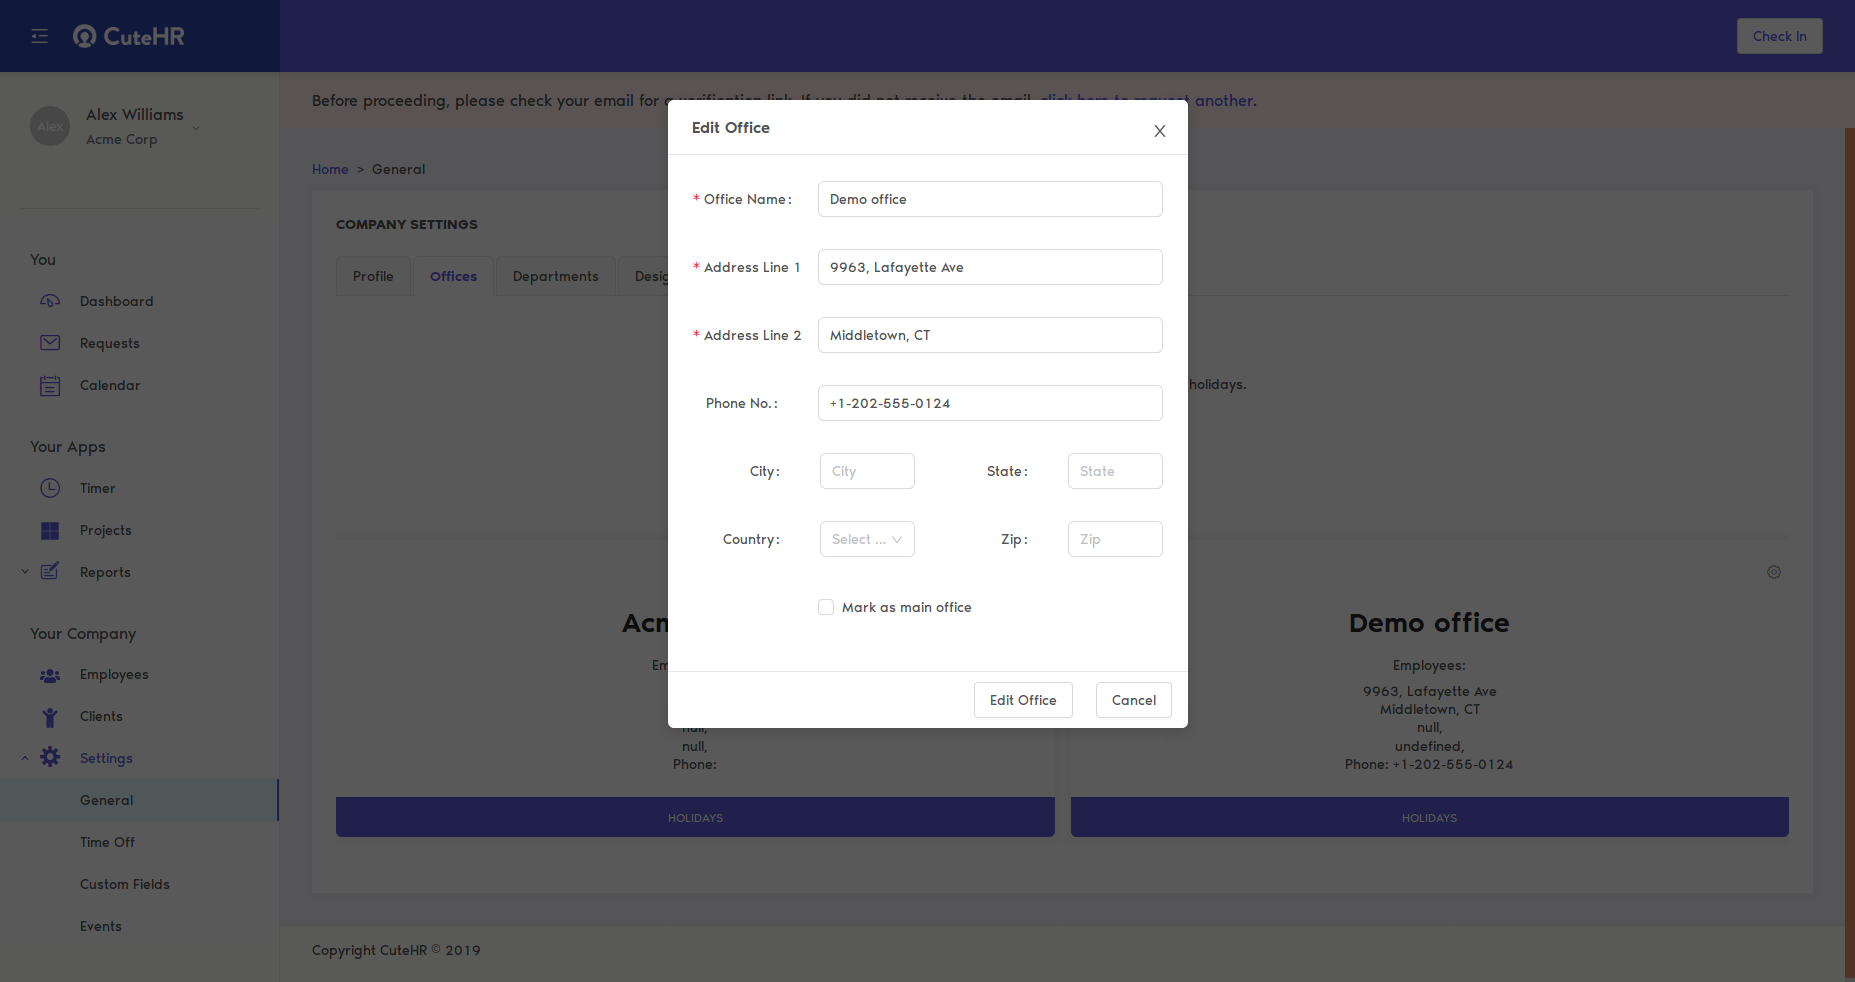
To edit any office, click the cog wheel icon, on top-right corner, of the office card, then select edit.
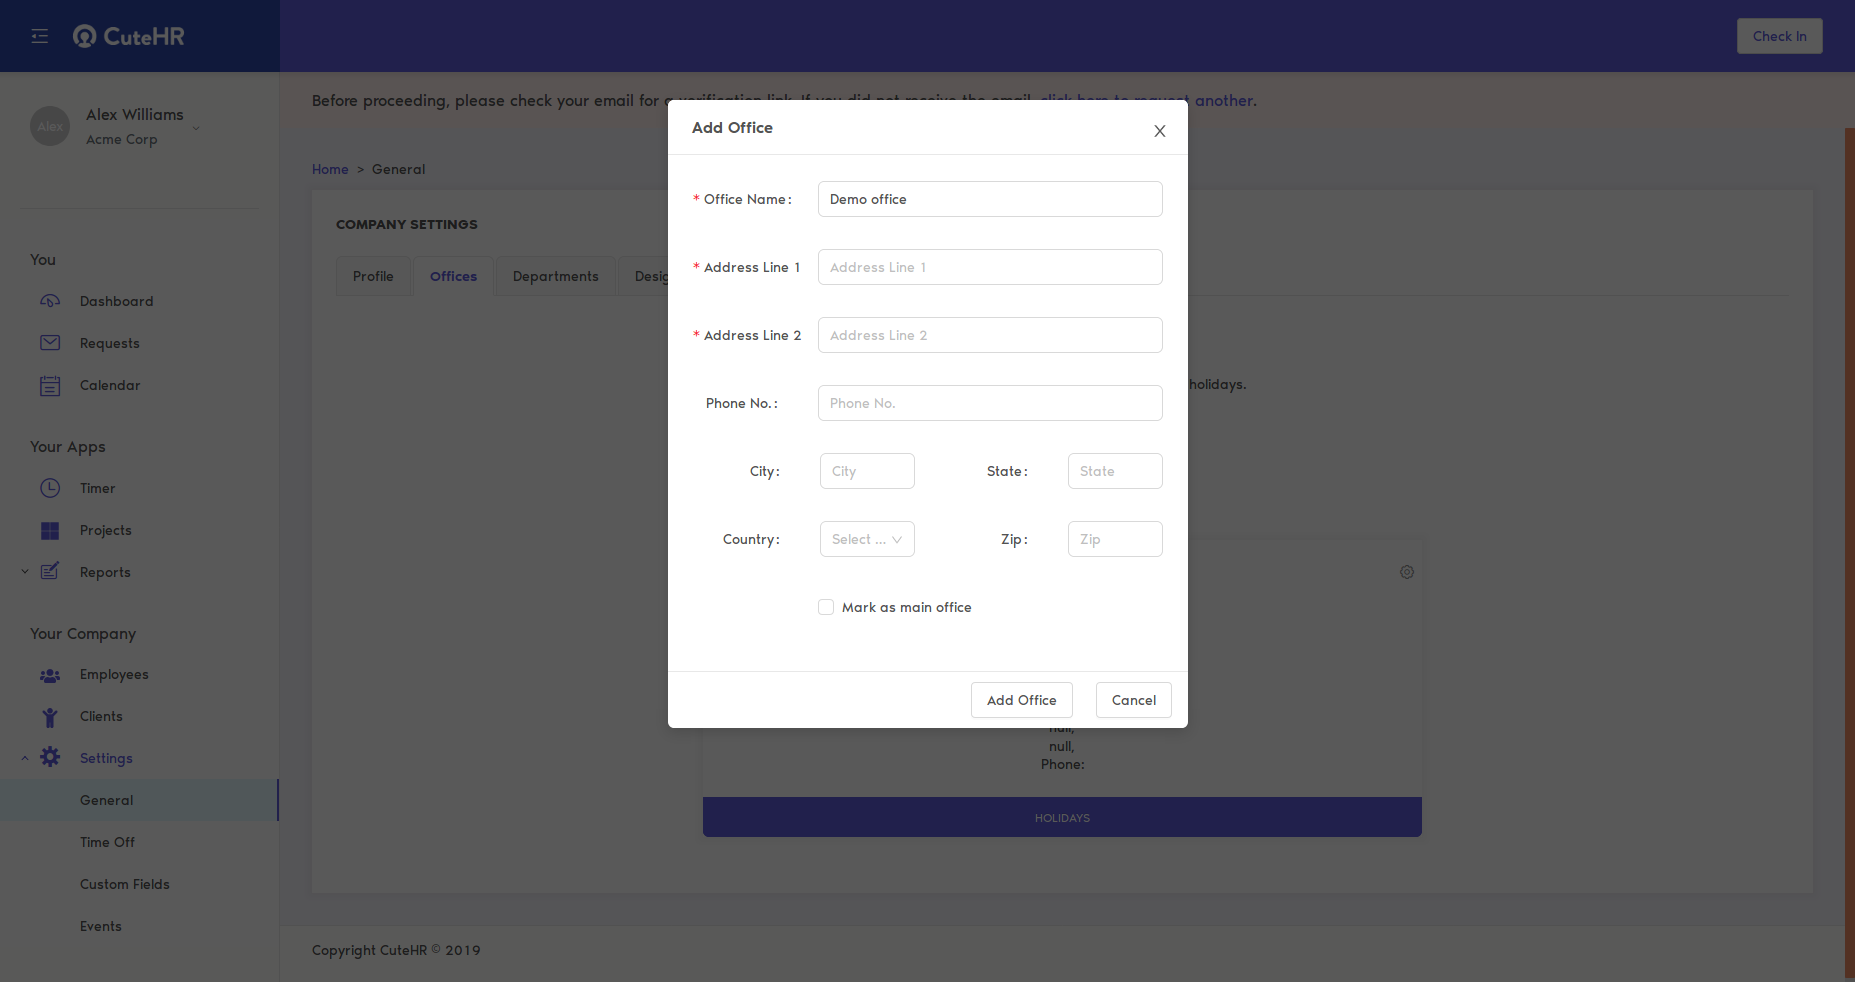
After clicking edit, popup will appear where you can add or edit the details of the office. After editing the detail, click the edit button.
Deleting the offices
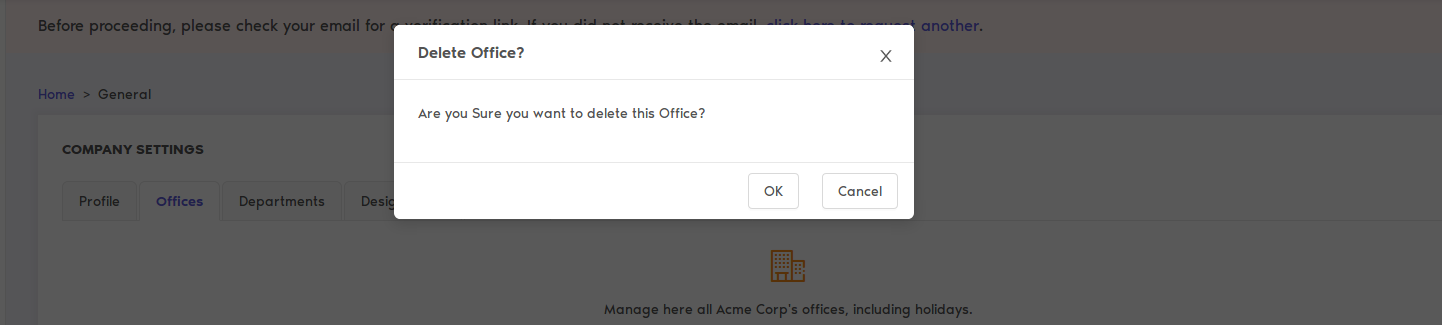
For deleting any office, click the cog wheel icon, on top-right corner, of the office card, then select delete (you may not find the delete option for every office, as delete will not appear for the main office, mark any other office as main and then you can delete the previous one).
After clicking delete, click "OK" for confirm popup to confirm.
Adding more workspaces
You may want to add more workspaces for a user. Cutehr makes your work easier, using cutehr you can create more workspaces for the user. To do so, follow the following instructions.
Adding workspaces
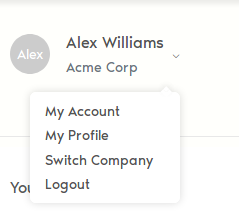
In order to add workspaces, click on the arrow-down icon on sidebar, next to user's name and from that dropdown menu, select switch company.
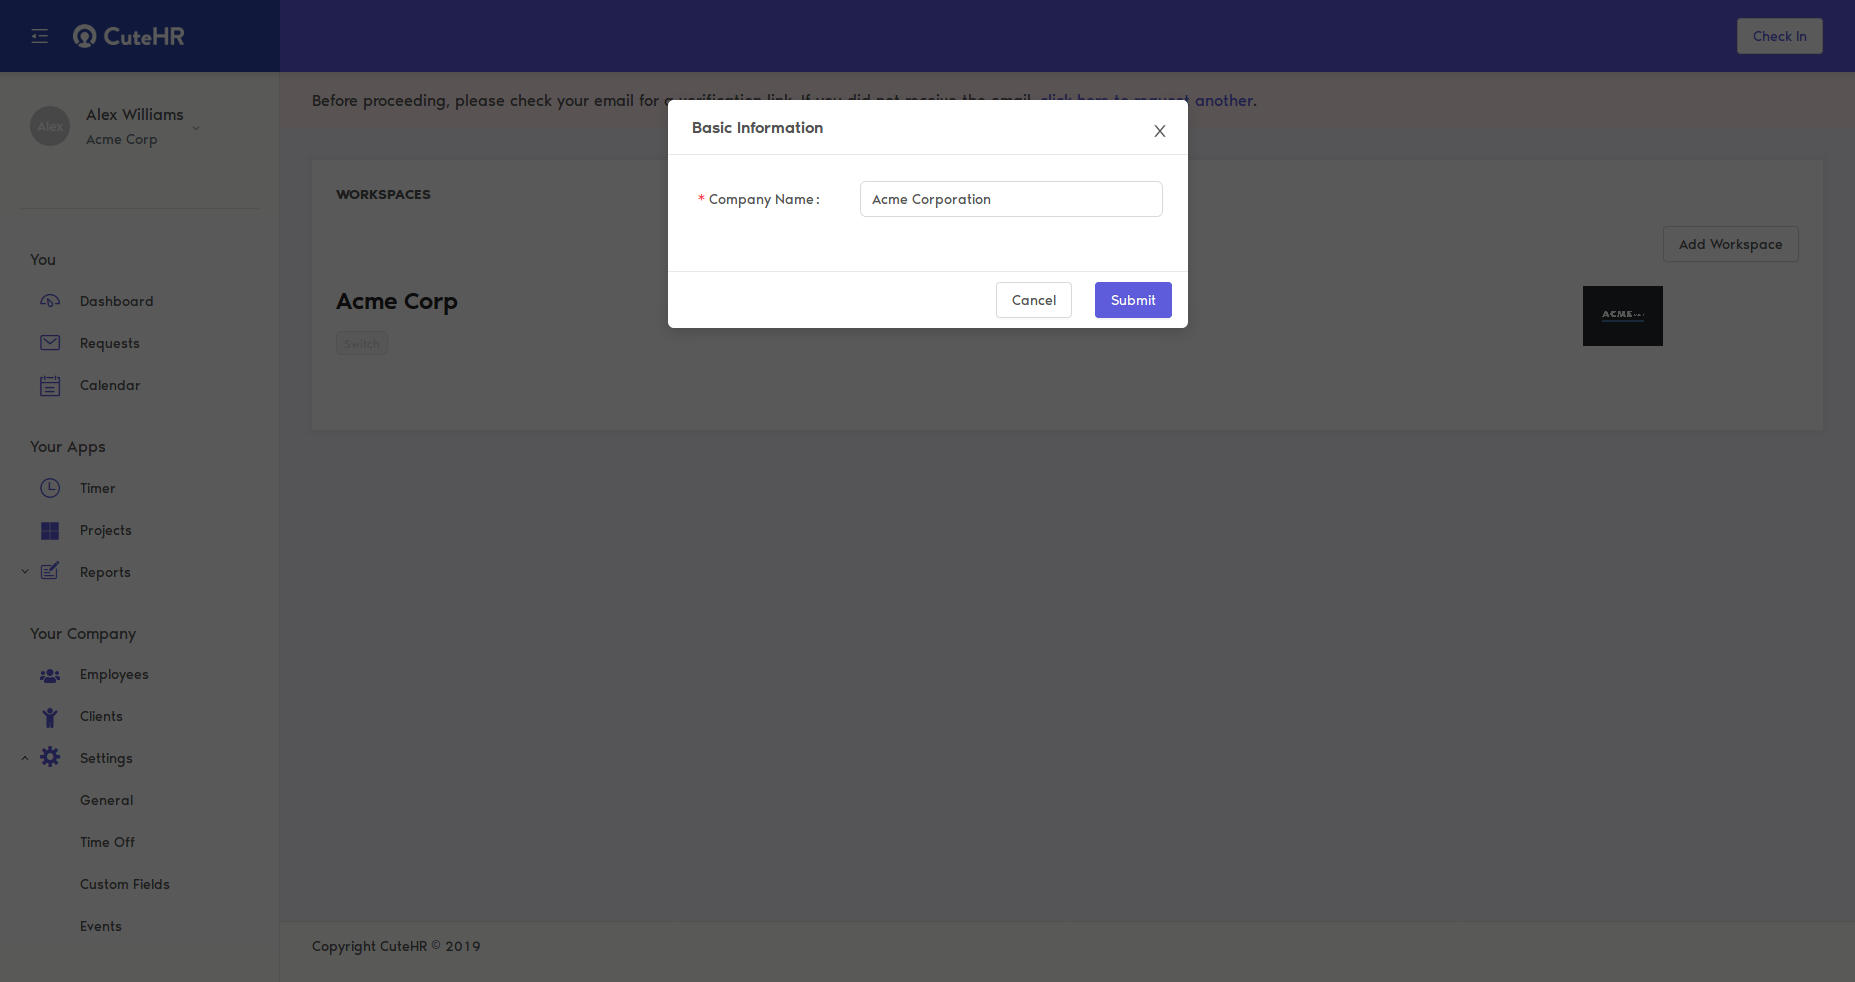
Here you will see company(s)/workspaces added by you. In order to add new workspace, click "Add Workspace" button.

After clicking the button you will see a popup of basic information for the company information. Fill up the name of company add click submit.
Now, the new workspace is created, you can switch workspaces anytime.
The selected company's name appears below user's name on the Sidebar.
To edit the information of newly created workspace, you can follow the steps of editing the company.
You can also add, edit or delete offices for that company
Setting up employees
After adding the company, you can add employees to your company. Adding employees to Cutehr is simple. Follow the following steps to add employees to your company.
Adding Employees
To add employees to your company, click on the Emplyees menu in sidebar then Click the "Add Employee" button, fill up the basic details of employee like name, email address in the popup and then click Add Employee.
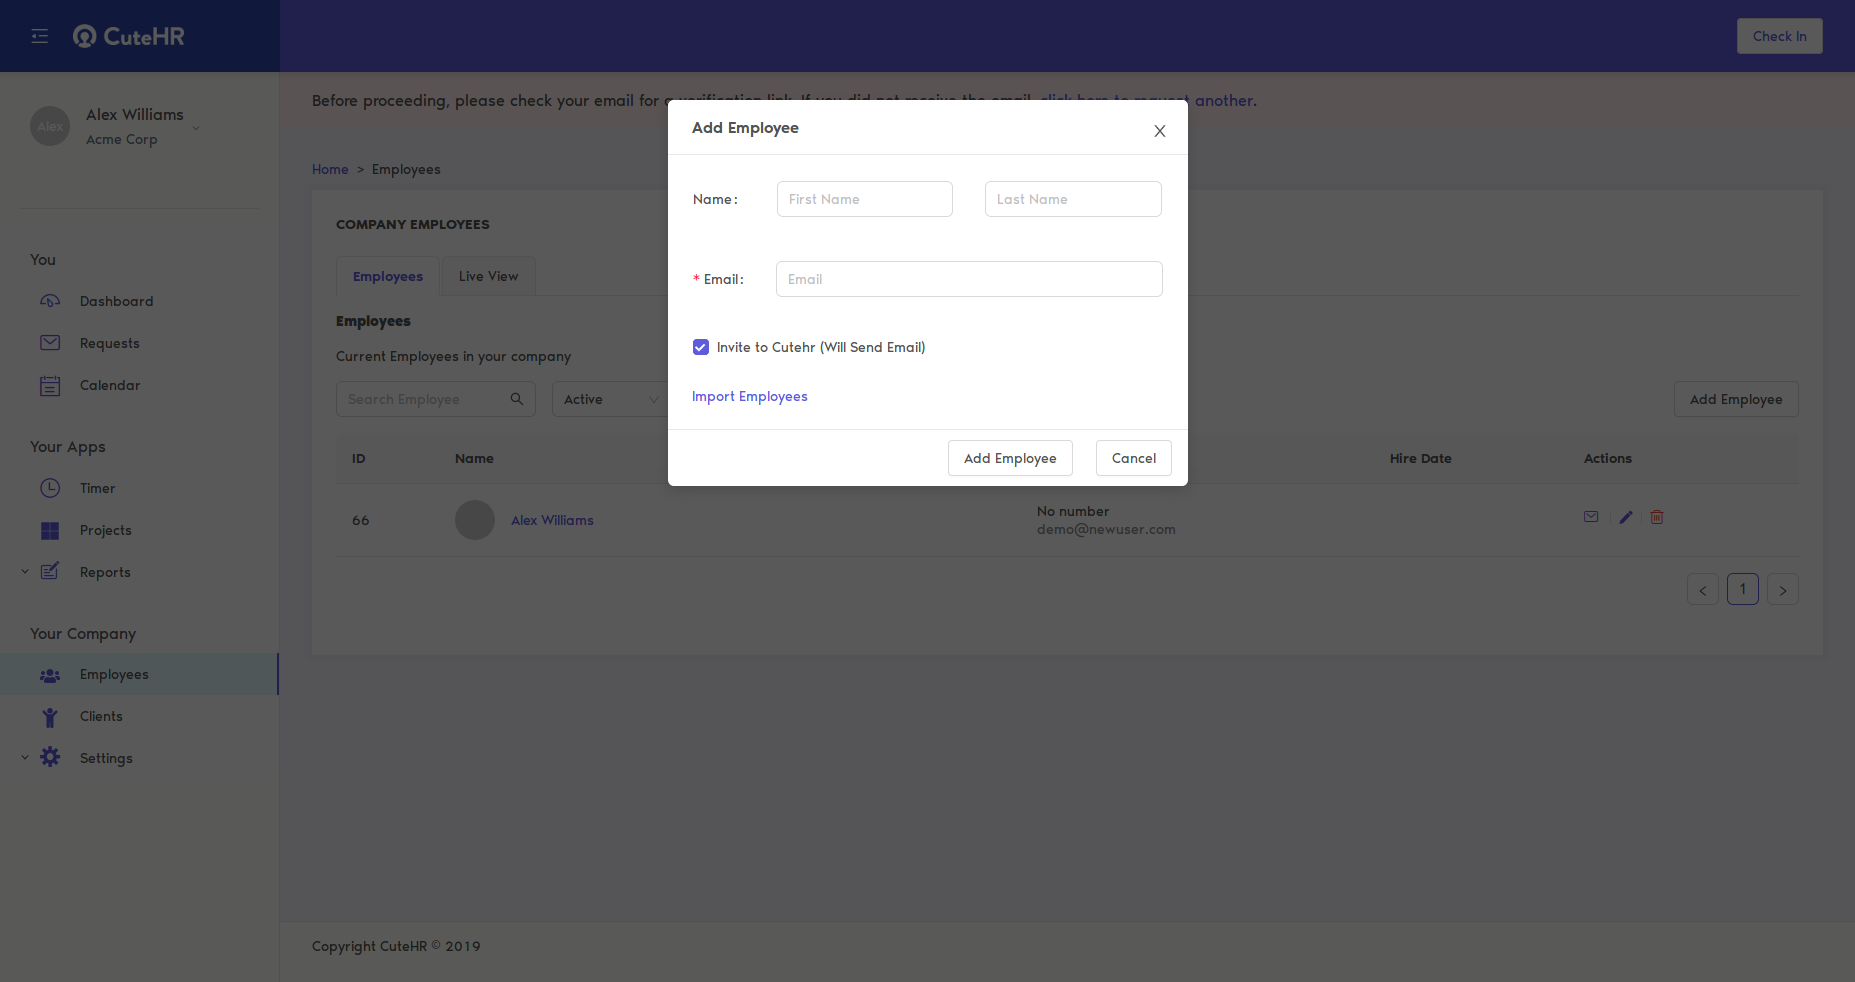
After adding the employee, the page will be redirected to basic information of the employee.
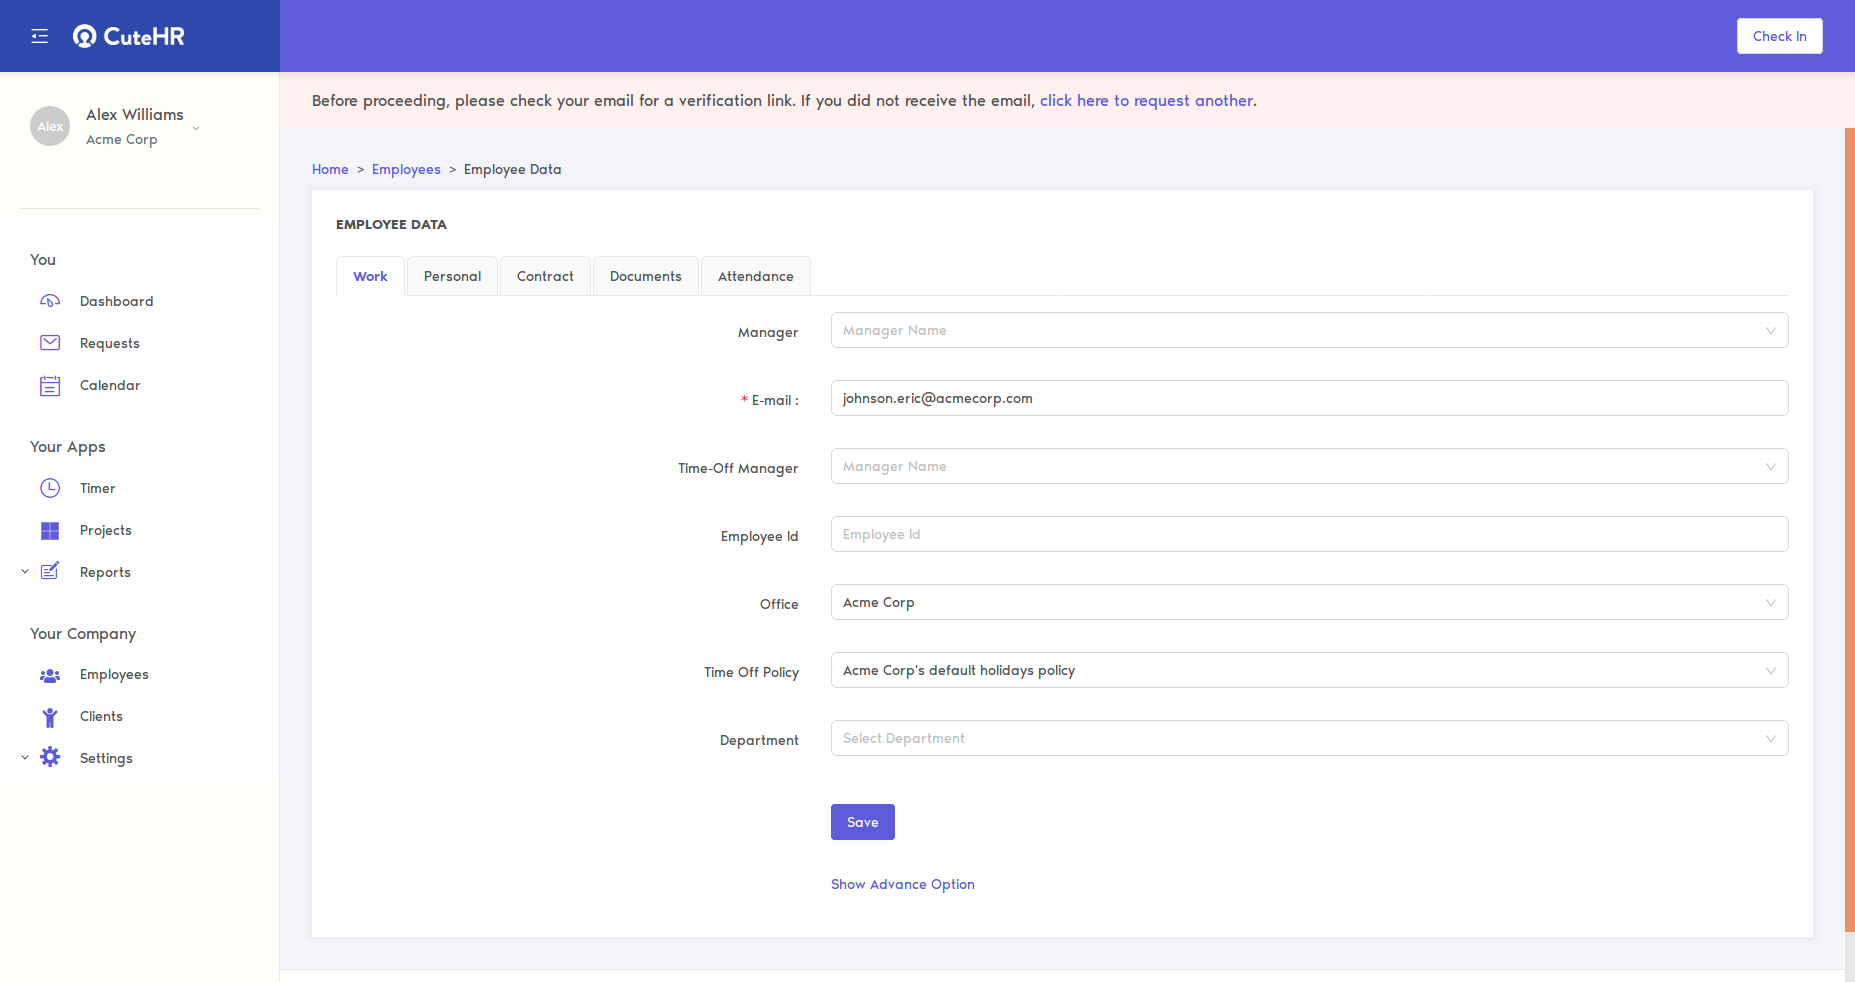
You can fill up the basic work, personal, etc for the employee.
Editing Employees
For editing any employee's detail, click on the Employees menu in sidebar then click on employee's name or pencil icon against employee to edit the employee detail.

Once you click on employee's name or pencil icon, you will be redirected to the employee detail page, here you can edit the information of the employee and click on save button.
Setting up Custom Fields for Employee
Cutehr provides the feature of adding custom fields for your employees as per your country. Like national Id card, etc.
Adding Custom Fields
To Add Custom Fields for employee navigate to Settings -> Custom Fields, click on "Employee" Tab.
Click "Add Custom Field" button.
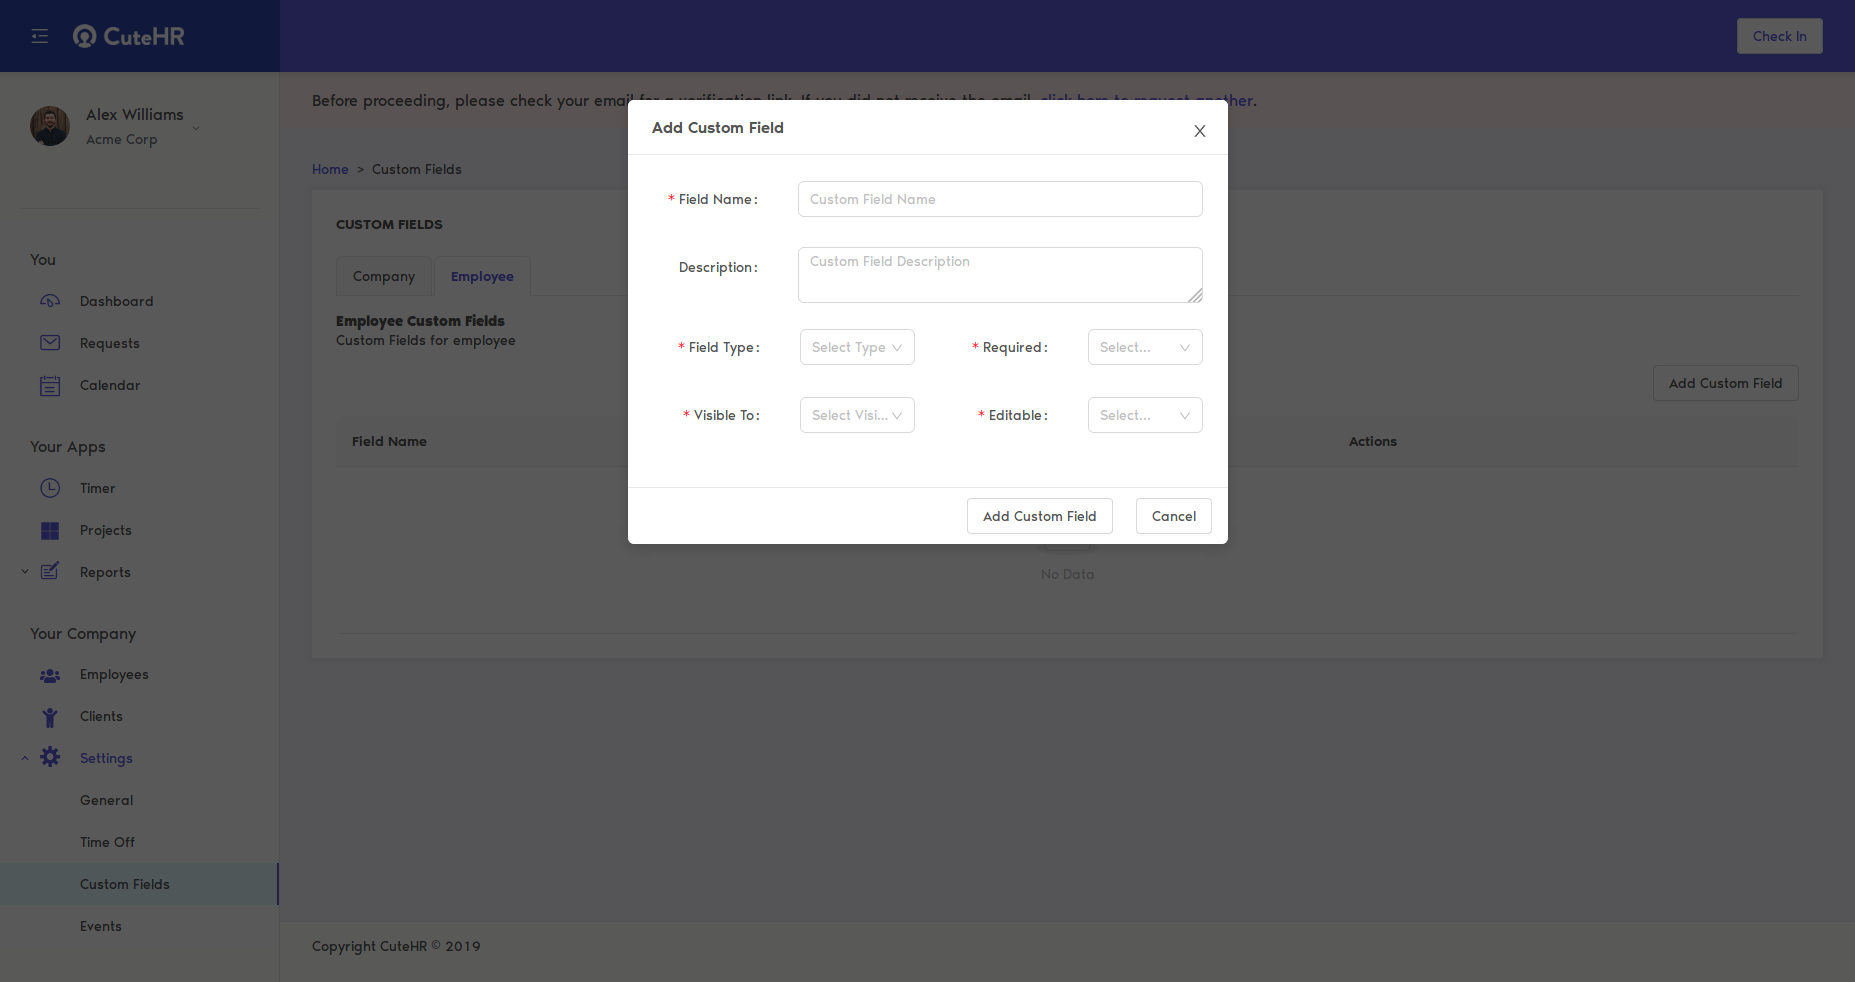
Fill up the information for the custom field. Add click "Add Custom Field" button in popup.
Editing Custom Fields
To Edit custom field, just click the pencil icon and edit the form in the popup.
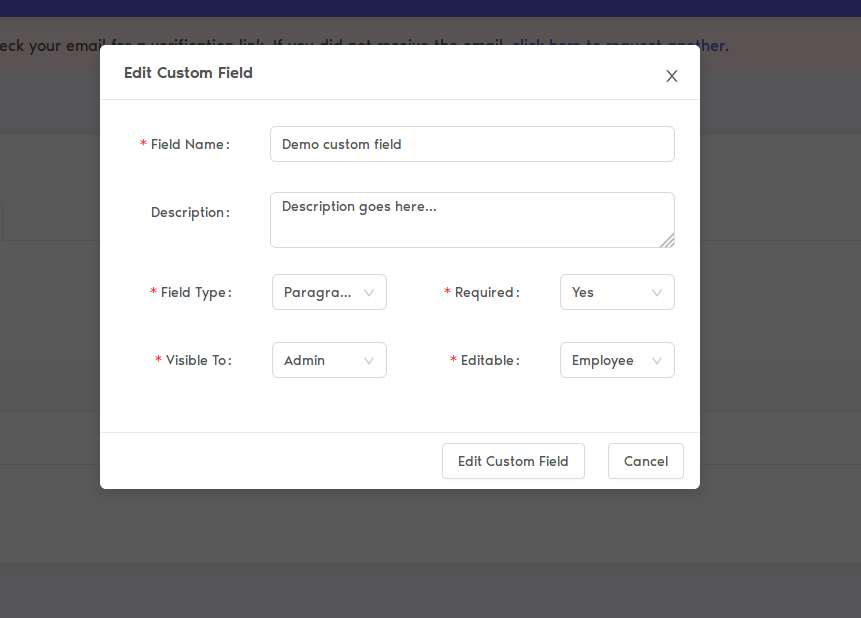
After editing the information just click "Edit Custom Field" button in the popup.
Deleting Custom Fields
To Delete custom field, click the bin icon in from of custom field name. Select "OK" from the confirmation modal to confirm.
Use of Custom Field
Your company might need information fields other than cutehr provide, In that case, you can add custom fields.
After adding custom field for employee, go to employee's profile, Under Personal tab you will see custom fields.

You can fill it accordingly.
Setting up Attendance Managment
Tracking employee attendance is one of the most basic tasks that a HR software manages. Setting up attendance rules and policies is easy with CuteHR is easy as we explain below.
Setting up Holidays
The First Step to setting up Attendance is to define holidays for your office , CuteHR support multiple offices so each office can have different holidays if they are in different states or countries. Only the Admin can setup holidays , so make sure you are logged in using a admin account when setting up the holidays.
Get started by going to Settings in the side bar then General , The select the office tab.
In the office tab click on holidays.
Then You may use the Add Holiday Button to Create a holiday by providing it a name and date.
You may also import common holidays using the import holidays option.
To import common holidays , Select the country and the Year you wish to import the holidays for. For example lets choose "United States" , You will see a list of common holidays , then you may select the holidays you wish to import and use the "Add Selected Holidays" to import the holidays into your company calendar.
Now if you visit the Calendar Page in your section it should start showing the holidays .
Setting up Working Days
As employees can have different working days which might include weekends , CuteHR allows these custom settings to be put in for a employee.
To setup the Attendance policy for an employee , Visit the Employees page in the Your company Section, From here select the employee you wish to change or create the Working days for.
Select the Eeployee and in his Employee Information choose Contract tab, Then select the latest contract and go down to the Working days field , here you can select which days the employee is to be present in the office . You can also setup advanced rules like Second and Fourth Satarday working.
You can also setup the working hours per day and the office start time here.
Once the above task has been completed the basic Attendance setup is completed.
Add Leaves Policies
You get a default leave policy for the registered company as company's default leaves policy. You can also add leave policies to your company. Adding leave policies is easy, follow the steps below.
Adding Leave Policies
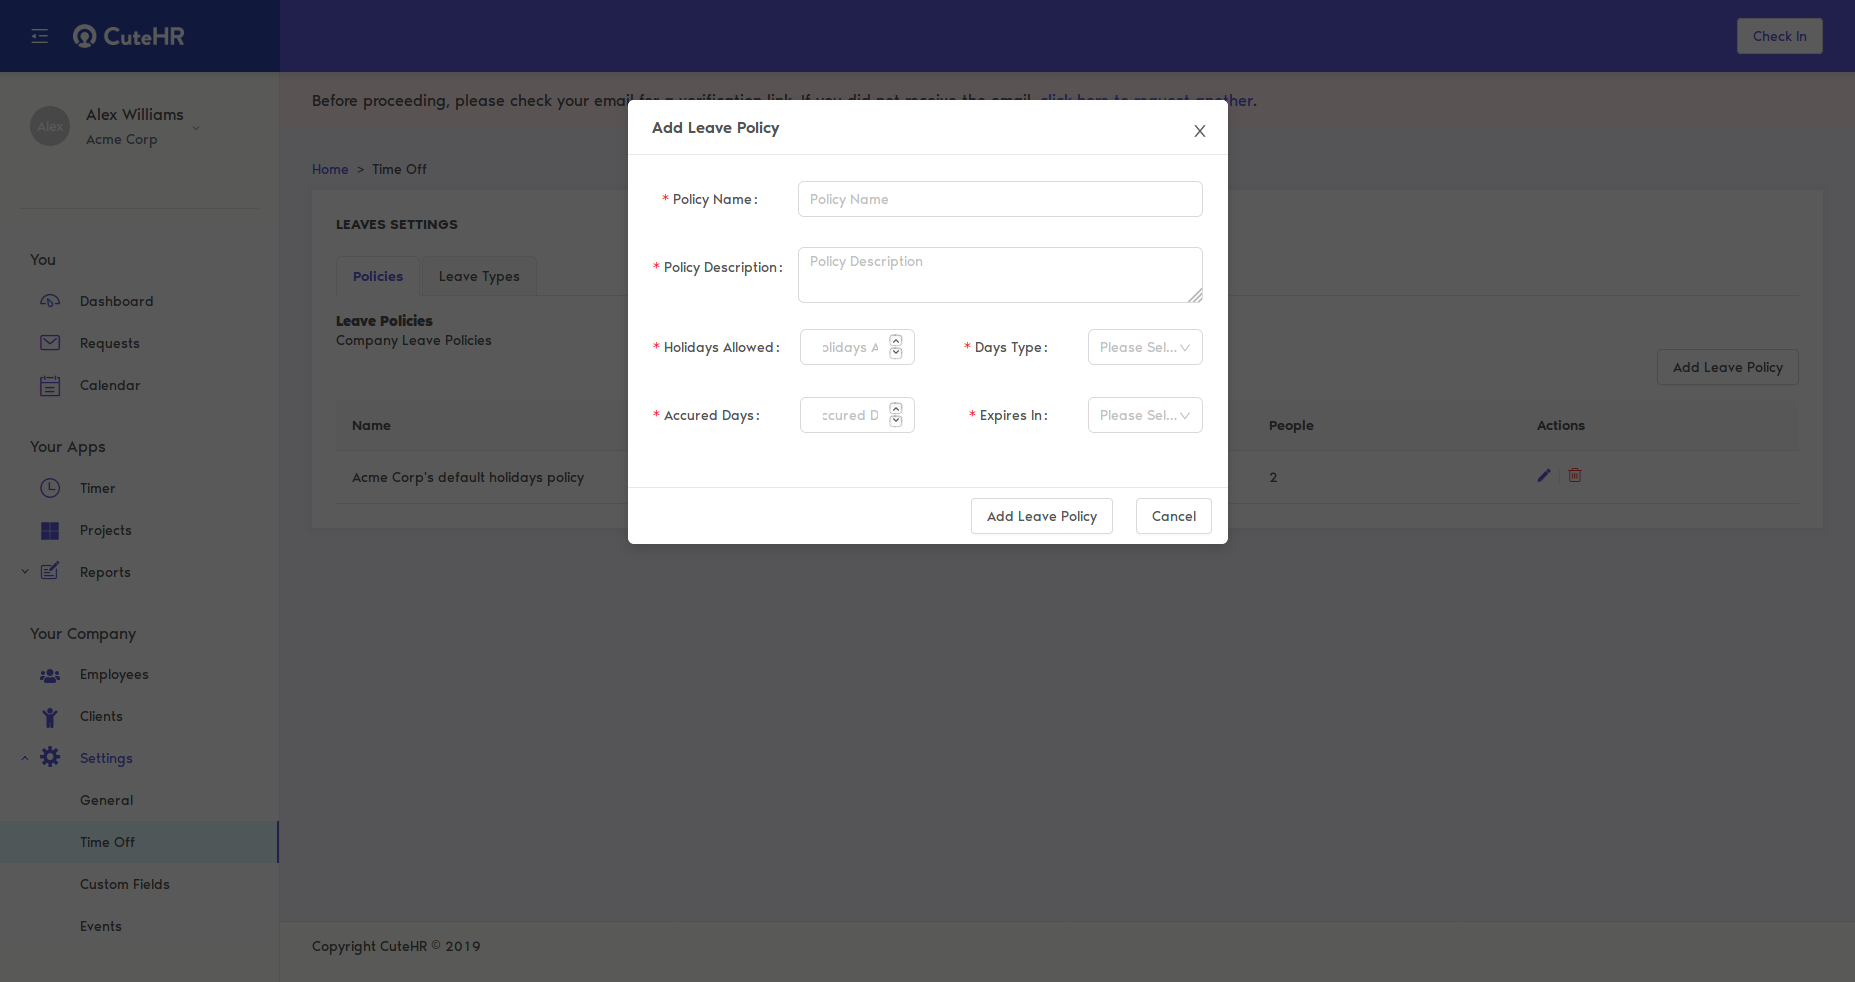
To add leave policies go to leave settings by navigating as Settings -> Time Off from sidebar menu, you will see the leaves policies of the company here.
To add new policy simply click "Add Leave Policy" button, fill the form of the popup and click "Add Leave Policy" button.
Now, new leave policy is added.
Editing Leave Policies
To edit leave policy simply click the pencil icon in front of leave policy name.
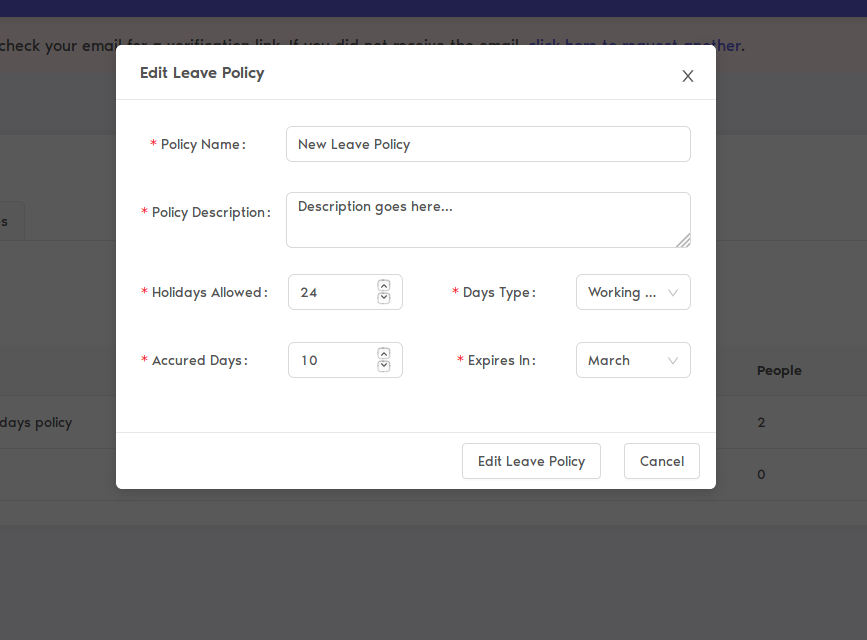
Popup will appear, make the changes in the form and click "Edit Leave Policy".
Now, the leave policy is edited.
Deleting Leave Policies
To delete any leave policy, any time, click on the bin icon in front of the leave policy name.
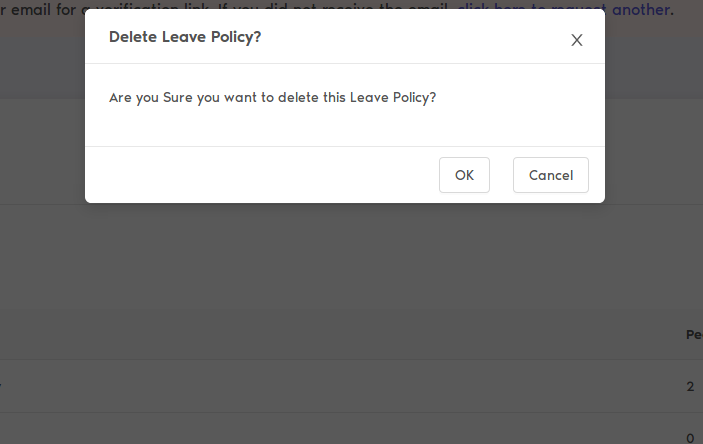
Select "OK" from the confirmation popup and you are good to go.
Adding Employees to Leave Policy
By default, employees are added to company's default leaves policy, but you can change the leave policy for every employee. To change it follow the steps.
Click the employee name or the pencil icon against his/her name, you will be redirected to his/her profile page.
Under the work tab, you will find the timeoff policy dropdown, from that, choose the leave policy for that employee, click on "Save" button.
Adding Leave Types
Leave types differs from company to company, cutehr gives you basic types of leaves types like sick, holiday, etc.

But as per your needs, you can change or add new leaves types.
Adding Leave Types
For adding new leave type to your company, follow the basic steps below
For adding new leave type click "Add Leave Type" button, popup will appear, fill the form add click "Add Leave Type" button.

The leave type is added. Now it will appear while requesting or adding leaves.
Editing Leave Types
For Editing leave types, click the pencil icon in front of the leave type name.
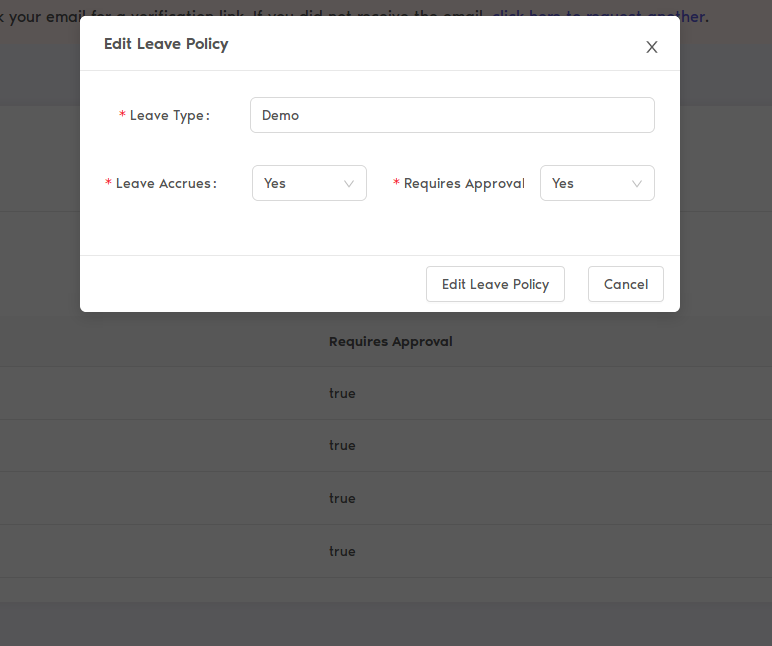
Update the information in the popup and click the "Edit Leave Type" button.
Deleting Leave Types
For deleting any leave type, click the bin icon in front of leave type name.

Setting up clients and managing them
The clients are the building blocks of the company and managing every client is not easy. No worries, cutehr is here to help you out. Adding and managing the clients for your company is really easy. And managing clients using cutehr is simply fun. To Add and manage your clients in cutehr follow the steps below.
Adding Clients
You will get the client for copany's internal projects.
To add clients to your workspace follow these basic steps.
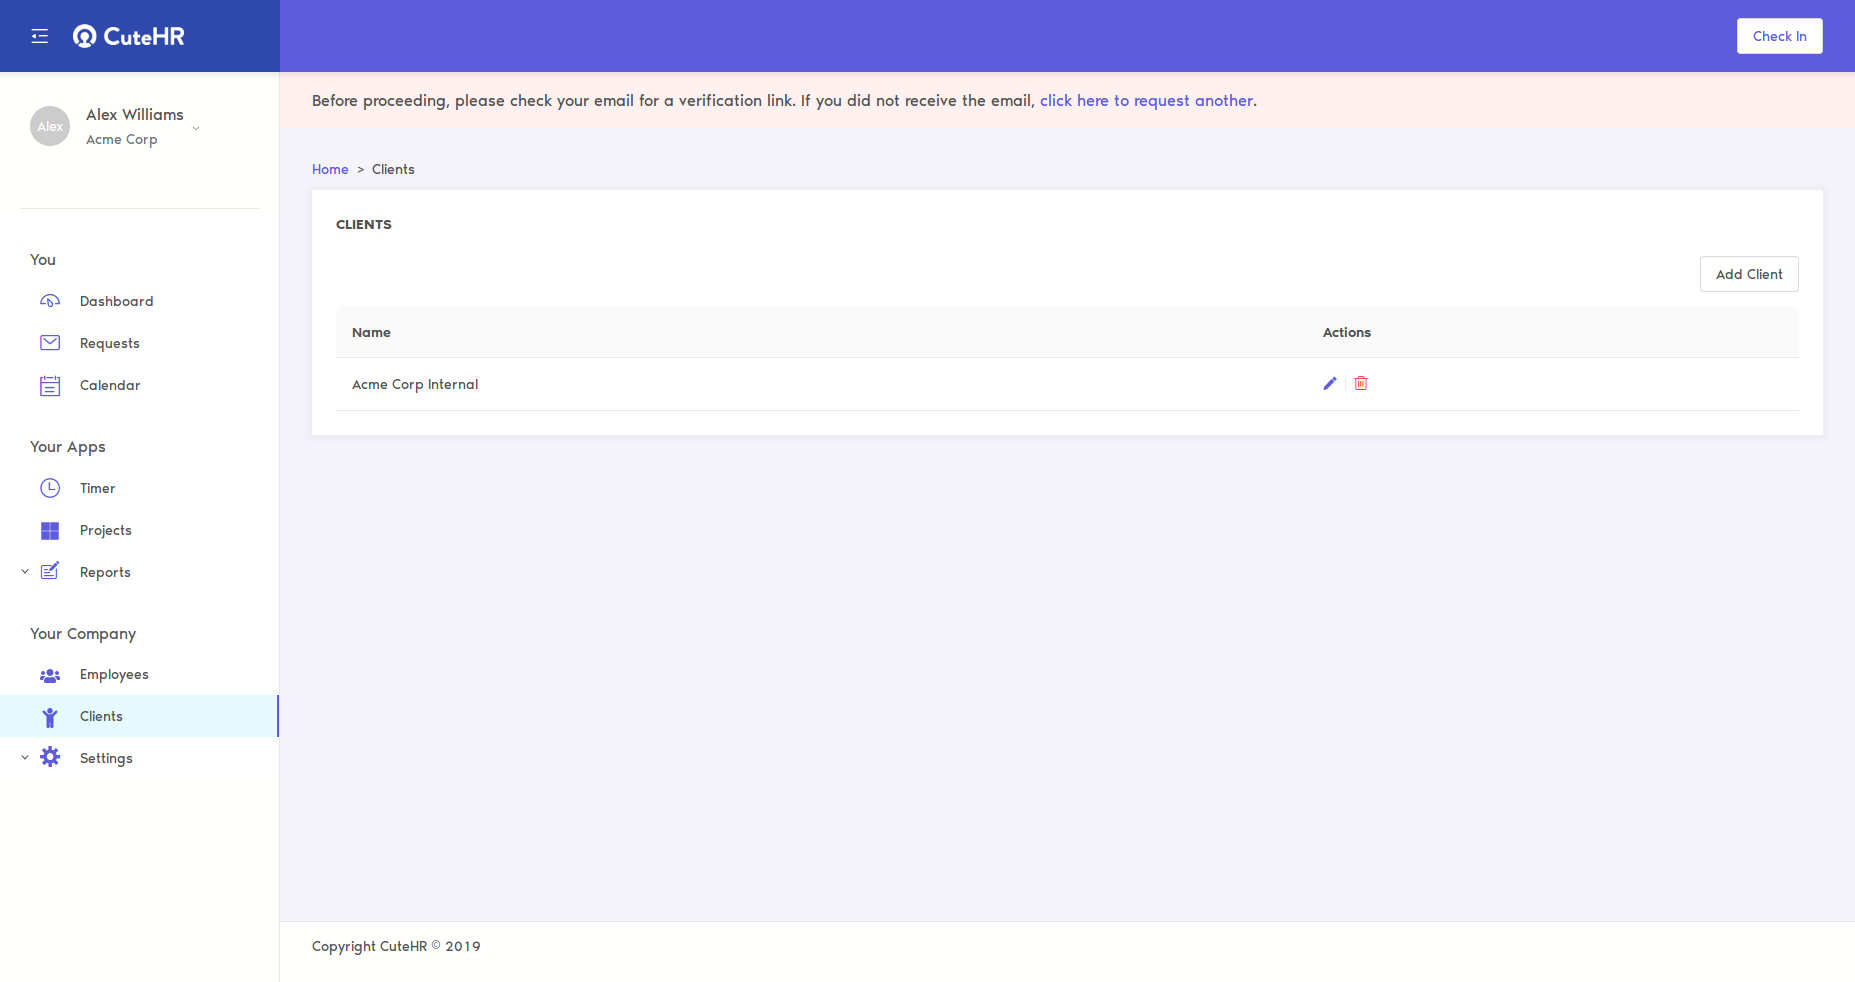
First of all, click on the client menu from the sidebar, now you are on clients page.
To add client, click "Add Client" button and add basic information about client, like client name, contact name(name of person to be contacted), email, etc.
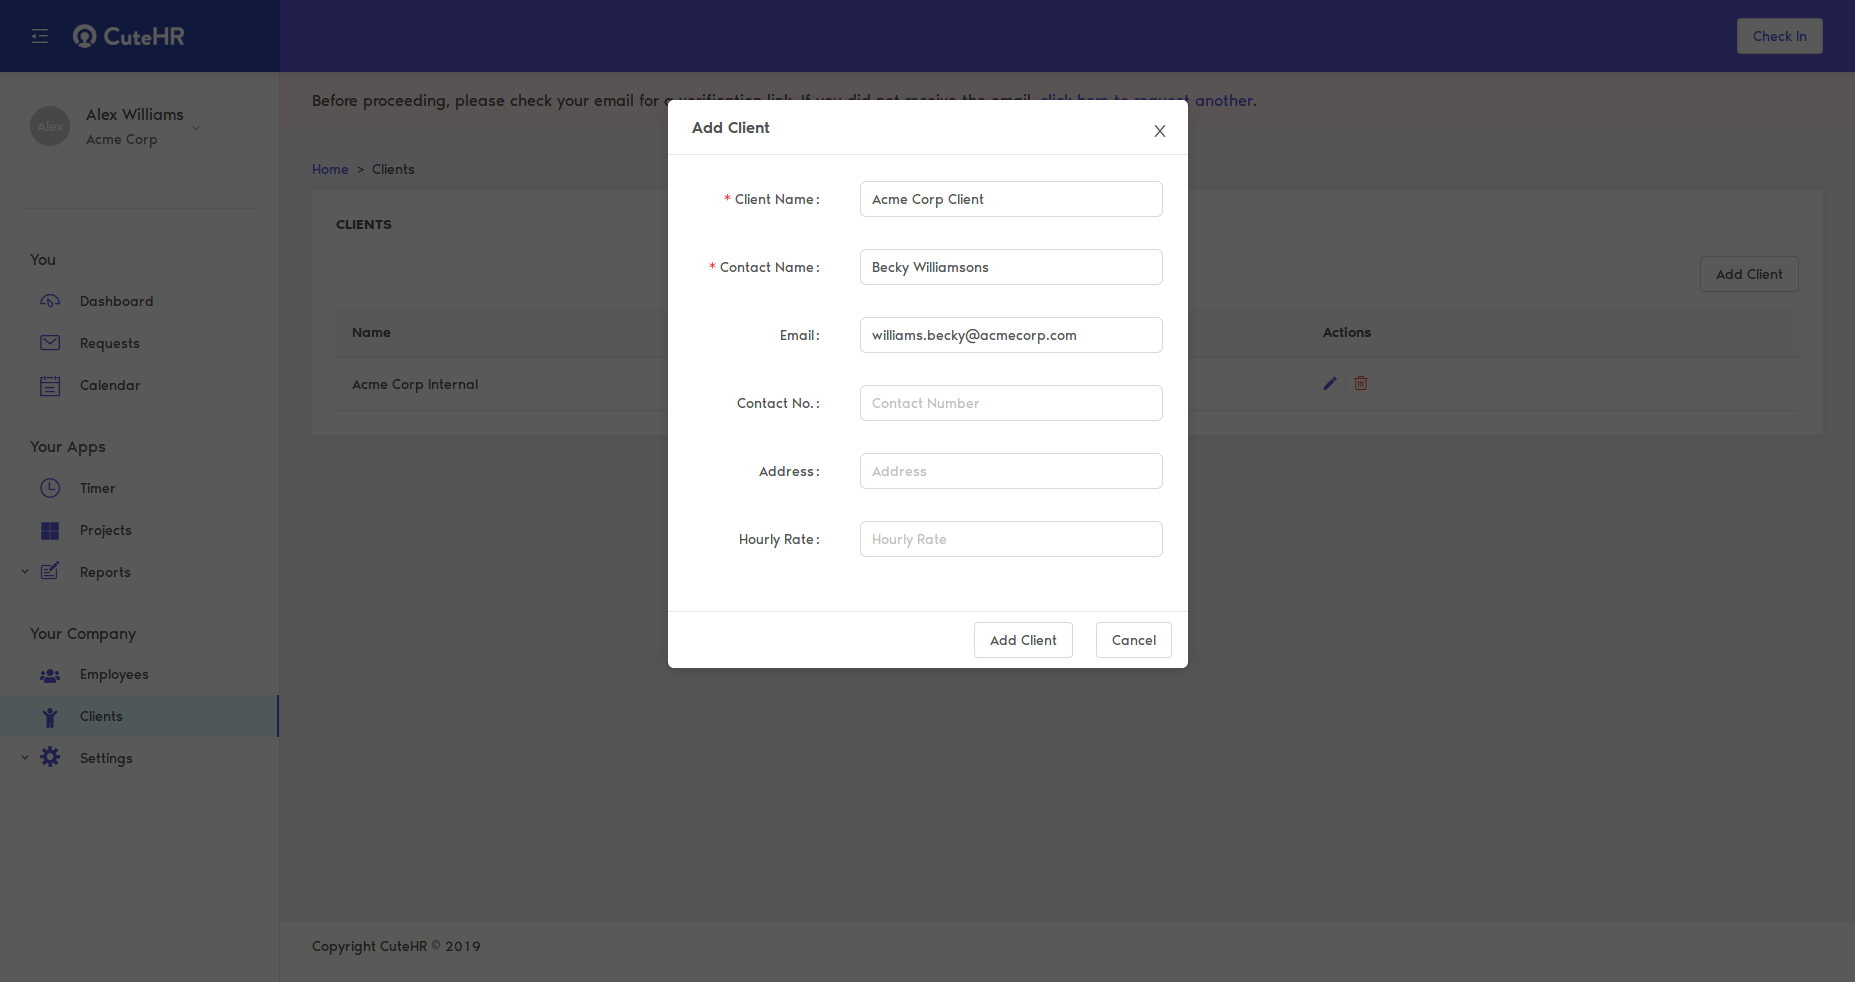
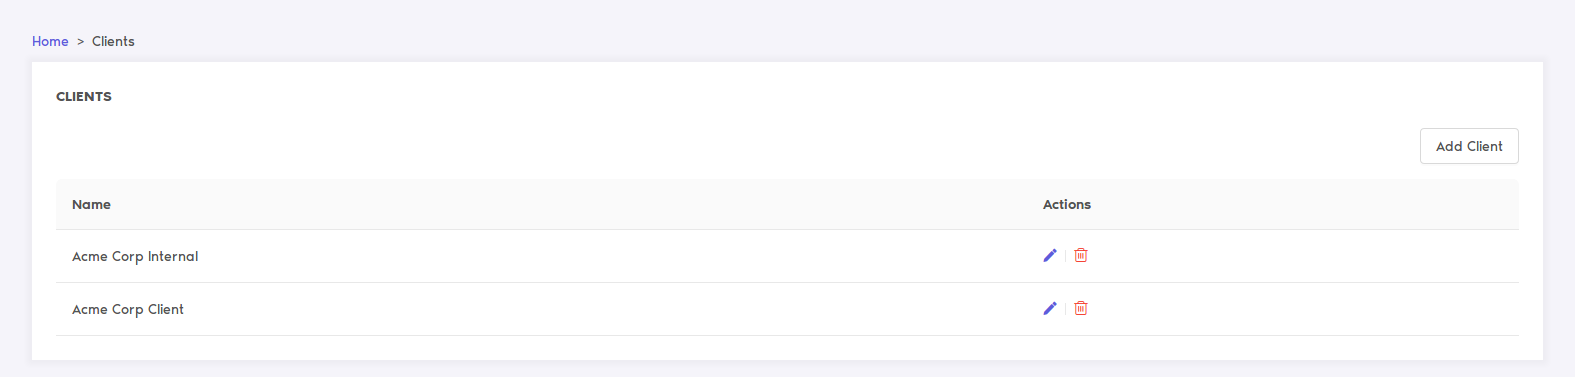
After filling all the information, simply hit the "Add Client" button. Now, as you can see the client is added.
Editing Clients
Editing clients via cutehr is as simple as adding one, you can edit the client from the lists of client available.
To edit the client click the pencil icon against the client which you want to edit. After clicking edit the information in the pop up appeared. After editing all the information needed click the "Edit Client" button.
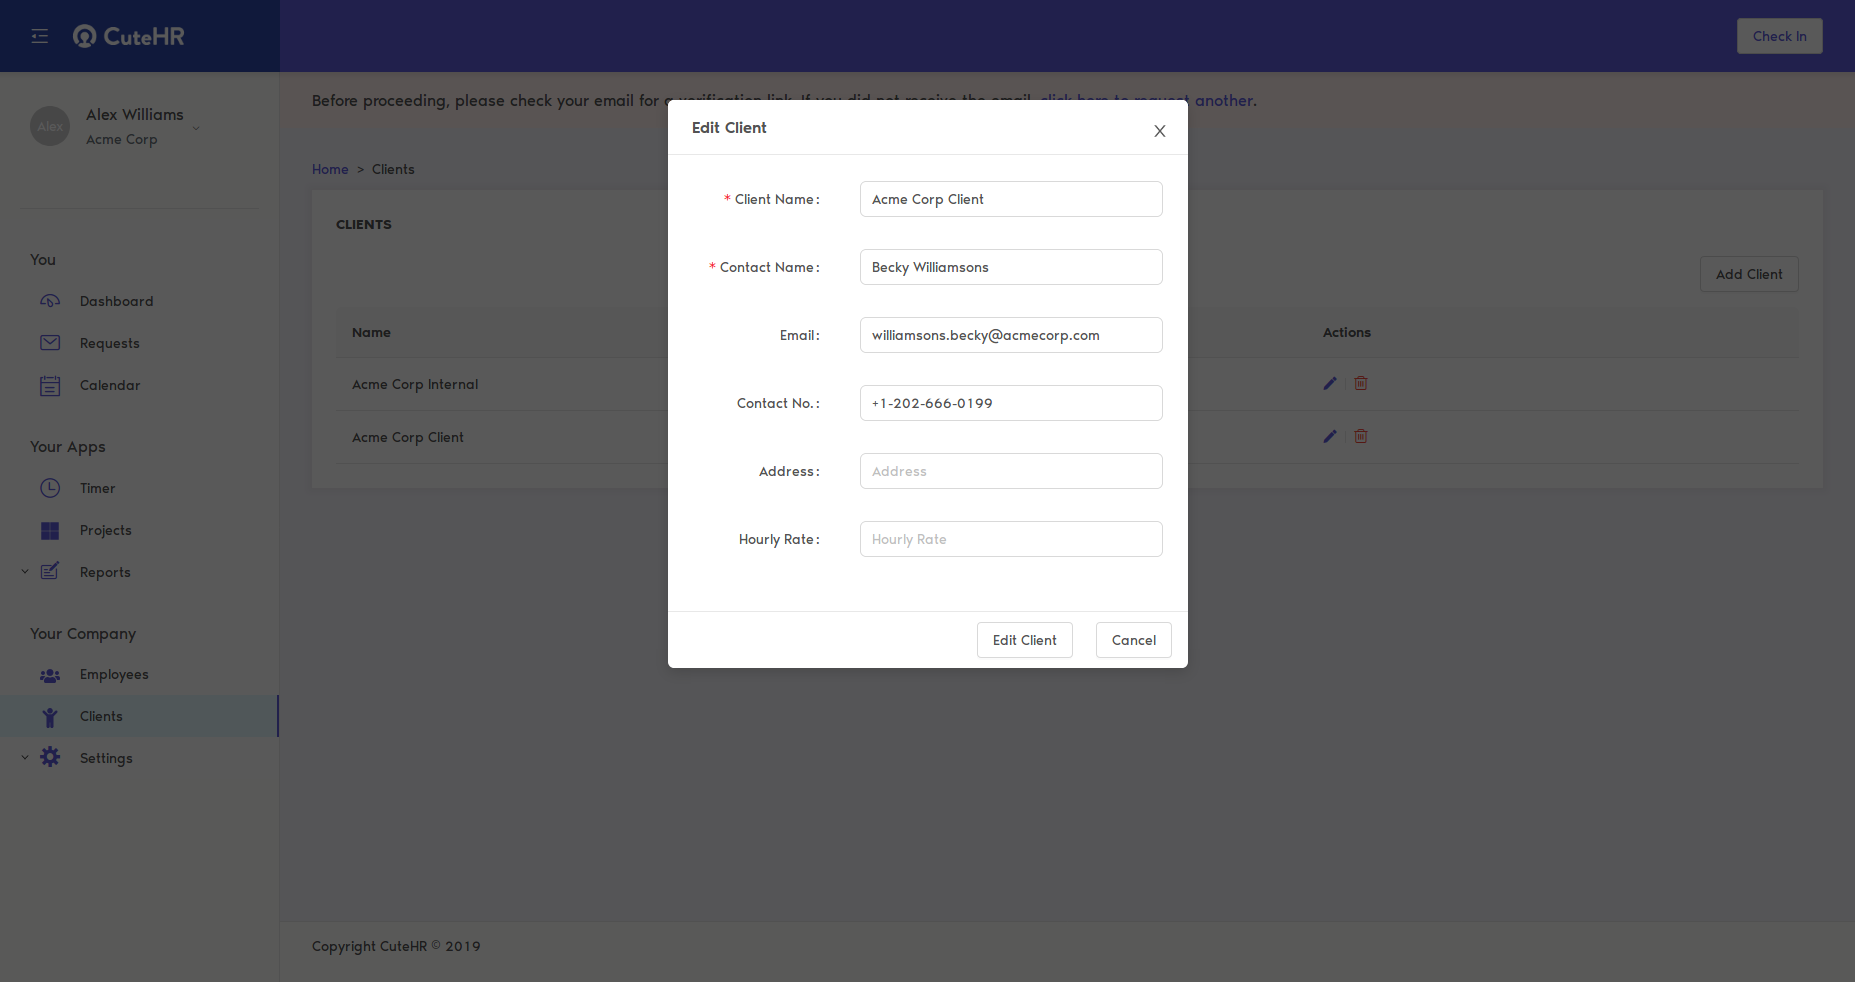
The client is now edited with the latest information provided.
Deleting Clients
You can delete the clients with which your company is no longer working, for any reasons whatsoever. For deleting the clients process is simple, follow below steps
For deleting any client, click on the bin icon present against the client name.
After clicking the icon, a confirmation popup will appear. Confirm the deletion of the client.
Once you have confirmed the popup, the client is deleted from your workspace and will no longer be accessible.
Setting up Projects
Adding projects to cutehr to manage the projects of the workspace is quite simple. To add your first project to cutehr follow the steps.
Adding Projects
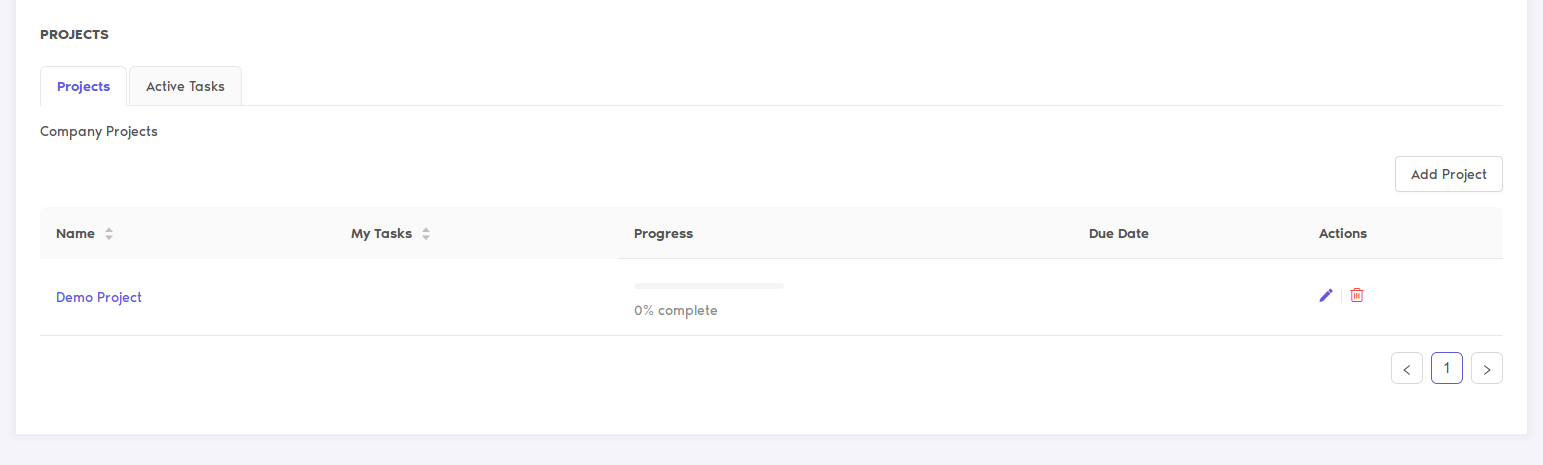
To add project to cutehr, Go to Projects under "Your Apps" in Sidebar menu and click on button "Add Project", a popup will appear on screen for the information of the project.
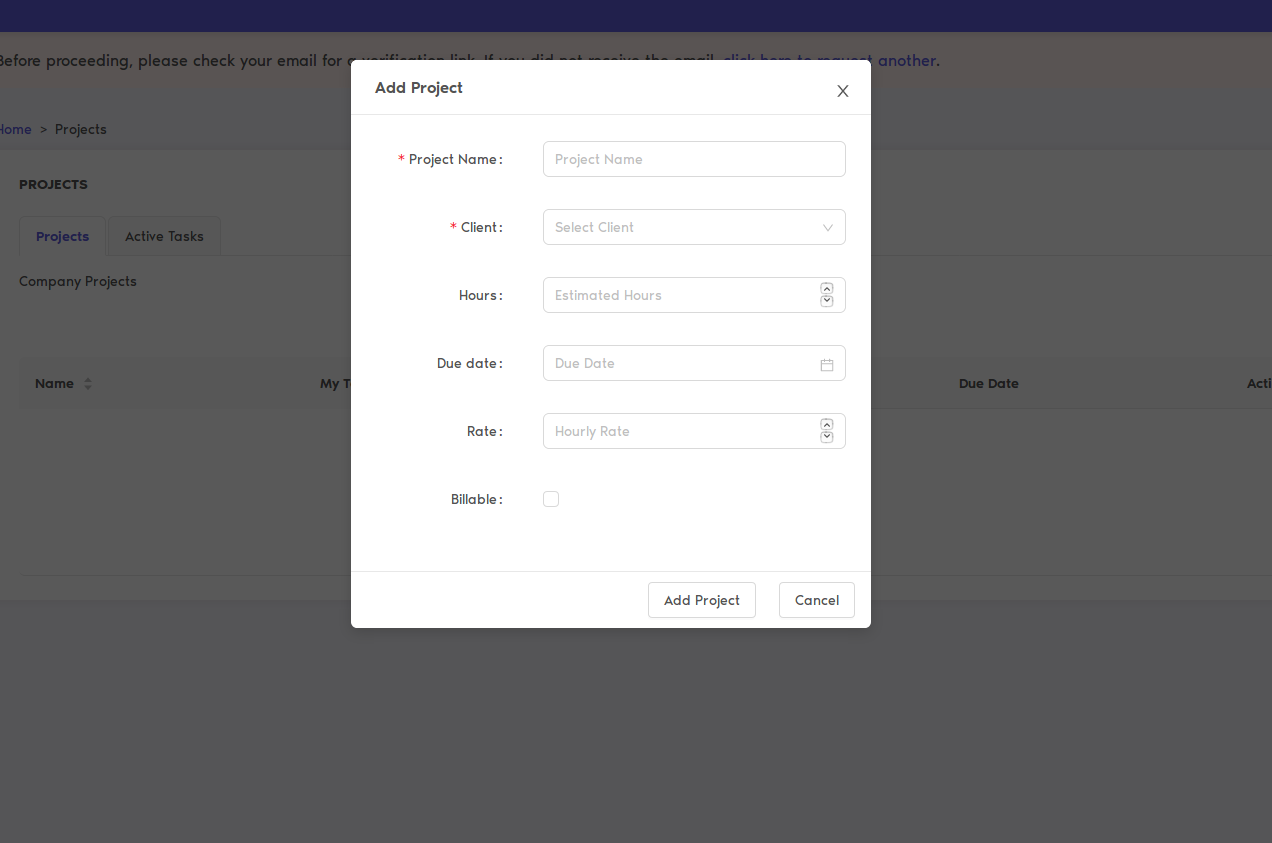
Fill up the basic information about the project like project name, client name, etc and then click "Add Project".
If you have not added any clients, then first add the clients and then add the project.
Now, the project is added and you are good to go.
Editing the Projects
To Edit the existing project of the workspace, you do not have to do much, just click the pencil icon against the project which you want to edit and the pop up will appear, in which you can update the existing information of the project.
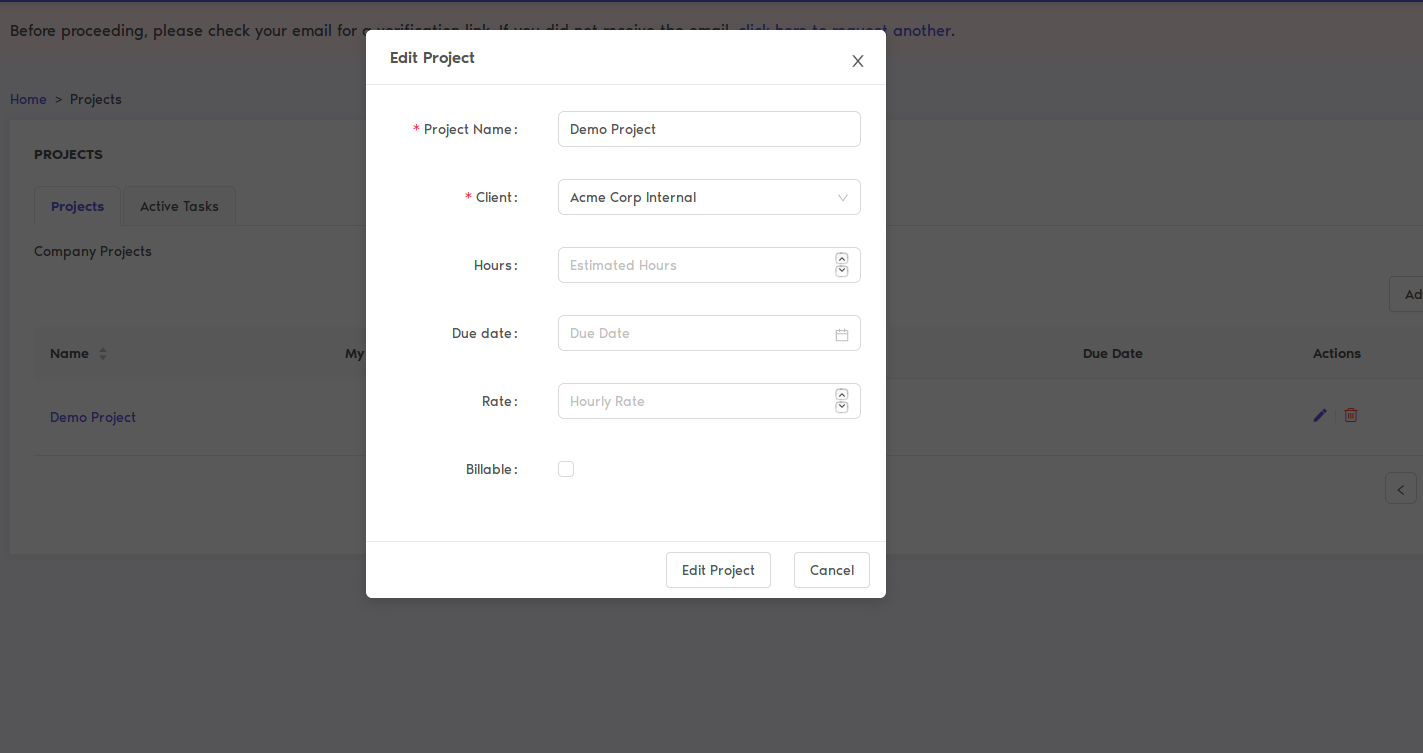
After editing the information, simply click "Edit Project" button.
Now, you will see the information of the project is updated.
Deleting the Projects
For deleting project, for any reason whatsoever, follow the instructions below
Click the bin icon against the project name, a pop up will appear for the confirmation of deletion of the project.
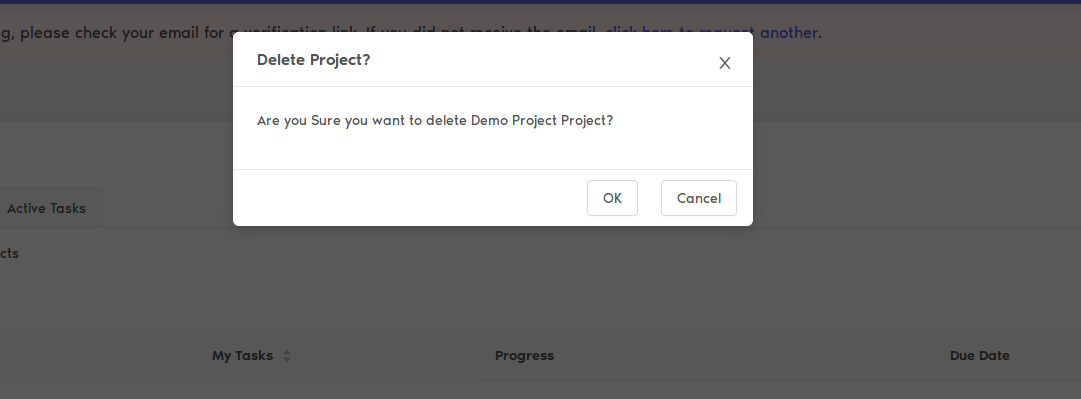
Confirm Deletion of the project by clicking "OK" button. The project is now no more in your list.
Managing Employees for Projects
After adding projects to cutehr, you must be wondering how to add employees to projects. This process is also very easy. Follow the instructions to add employees to any project.
Adding employee to project
For adding employee to any of your project. Just navigate to Projects in sidebar menu. You will see all the projects added by company. If not added, first add project.
Click the project name in which you want to add employees.
After clicking the project name, you will be redirected to project detail.

Click on the "Employees" Tab. Add Click "Add Employee" button.
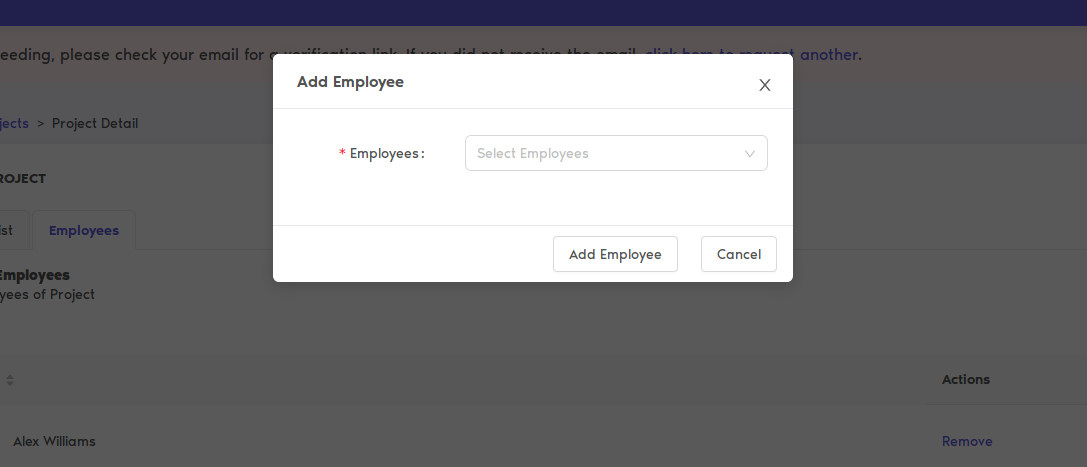
Select the employee to add to the project and click "Add Employee" button
Removing employee from project
This is very simple, to remove any employee from the project just click "Remove" in front of Employee name.
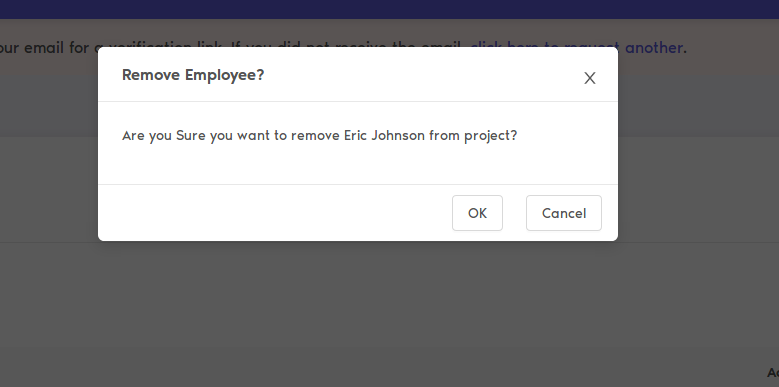
Click "OK" in the popup to confirm the removal of the employee from the project.
Setting up Team Event
Adding event to cutehr is simple.
Adding Events
To add event in cutehr click on the Settings menu in sidebar, then click Events submenu. You will see the events page.
From here click on "Add Events", fill up the details for the events and click Add Event button.

Now the event is added.
Editing Events
To edit events, simply click the pencil icon in front of event, a popup will appear.
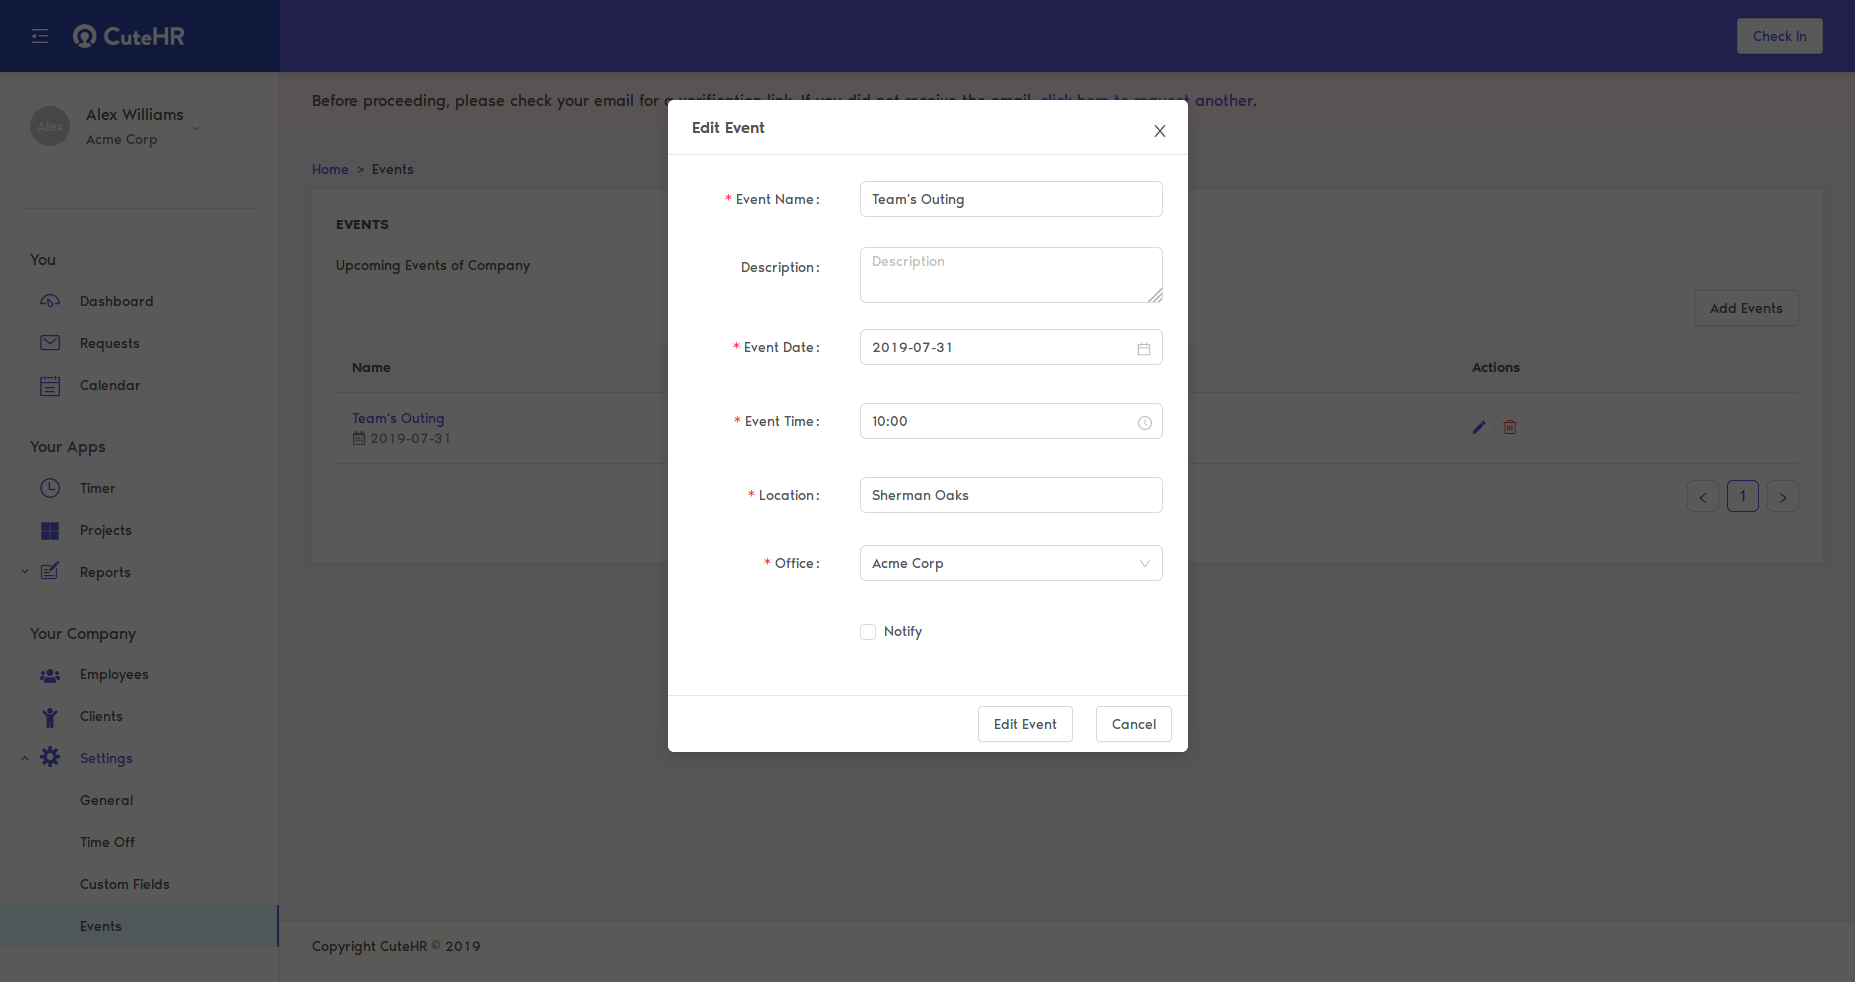
Update the event information and click Edit Event button.
Deleting Events
To delete events, click the bin icon in front of the event which you want to delete.
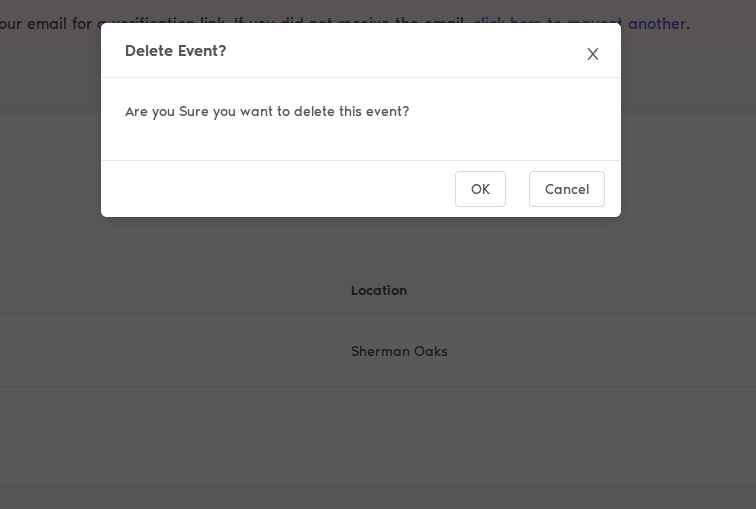
Click the "Yes" button in the confirmation popup.