I am a Employee
- Welcome to CuteHR
- Marking Attendance
- Getting Started with Time Tracking
- Check Active Tasks
- Managing Tasks for Projects
- Requesting a Leave
- Requesting a Reimbursement
Welcome to CuteHR
So you have got invited to CuteHR by your employer, Welcome to CuteHR. We have collected a set of articles which will help you quickly get to know how it works and how to perform most common acations.
Getting Started
- Welcome to CuteHR
- Security in CuteHR
- Setting up my profile
Common actions
Marking Attendance
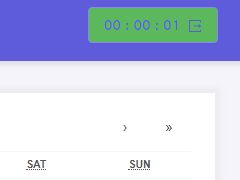
Marking attendance in CuteHR is really simple, once you are logged in go to the top right section of the application and click the Check In button , It will start showing a timer and you will be checked in.

To checkout simply click the timer button on top right again and you will be checked out.
Getting Started with Time Tracking
Using cutehr you can track your time which you are spending working on the projects. To do so, add the projects on your projects page and after adding projects get back to timer page.
Tracking your Time
Tracking time using cutehr is as simple as clicking a button. In order to track your time for projects you are working on, make sure the project on which you will work is added in project page, if not, add it to project page and follow the instruction below.
To track time, click on timer menu on sidebar, add the description and select the project on which you are working, the timer will start.
You can also start the timer without description, click start and a popup will appear notifying you about empty description box. Select "Yes" and the timer will start.
Check Active Tasks
You can also check the active tasks of your team members regardless of projects
To check the active tasks of any team member, Just Click the "Projects" from sidebar menu. You will see the projects of the company. Click on "Active Tasks" tab.
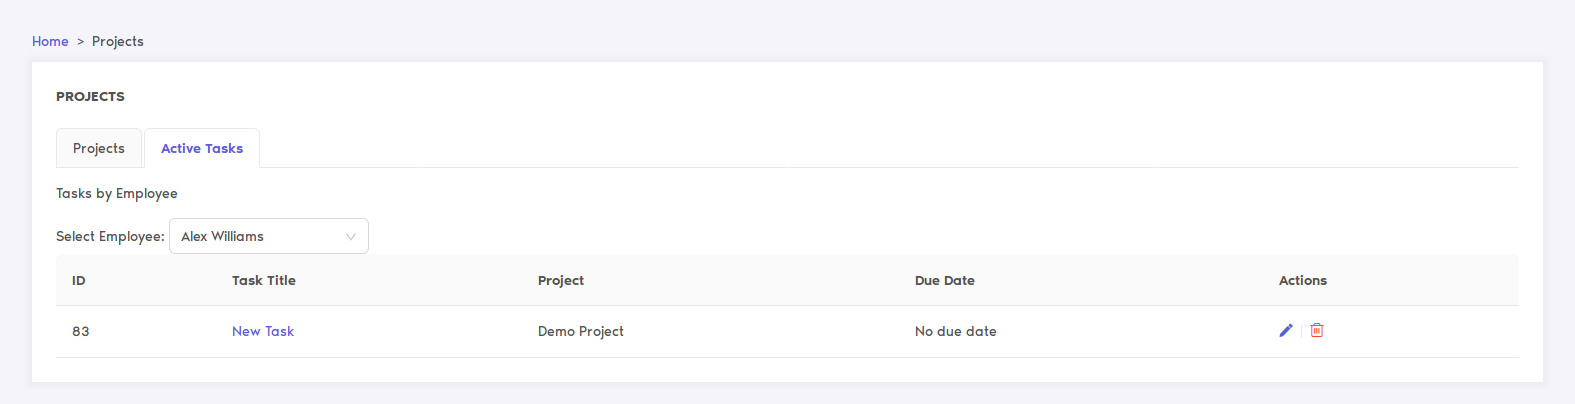
Here you will see all of your active tasks.
You can choose the employee from the dropdown to see any other user's active tasks
Managing Tasks for Projects
Managing tasks is one of the essential feature provided by cutehr. It is very easy and handy. To manage the tasks for the project follow the following instructions.
Adding Tasks to Project (Added under Tasks List)
For adding task to any project, navigate to Projects in sidebar menu, click the project in which you want to add task.

If no project is available, then you can create one (if permitted).
After clicking the project, Under the "Task List" tab. Click "Add Tasks". Popup will appear.
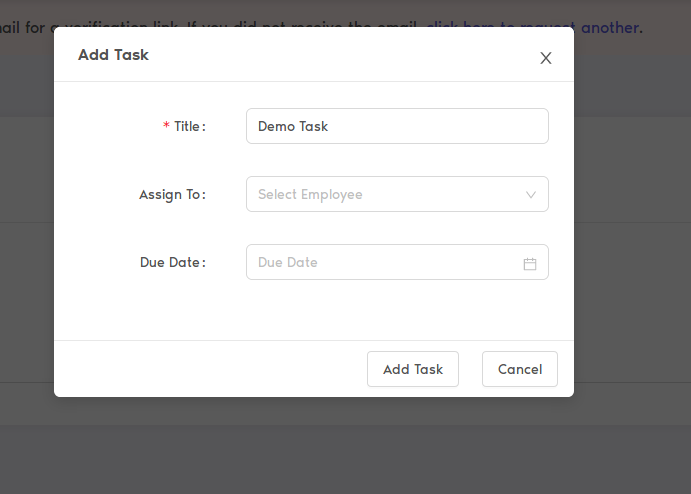
Fill the information and click "Add Task".
If you do not find "Add Task" then probably you do not have any tasks list. No Worries, you can add one. Just follow the instructions.
Editing Task
Editing task is easier than adding. Just hover over the task. You will find the pencil icon, click on it, popup will appear. Update the information.

Click "Edit Task List".
Deleting Task
For deleting any task, hover over the task which you want to delete, you will see the bin icon click on it.
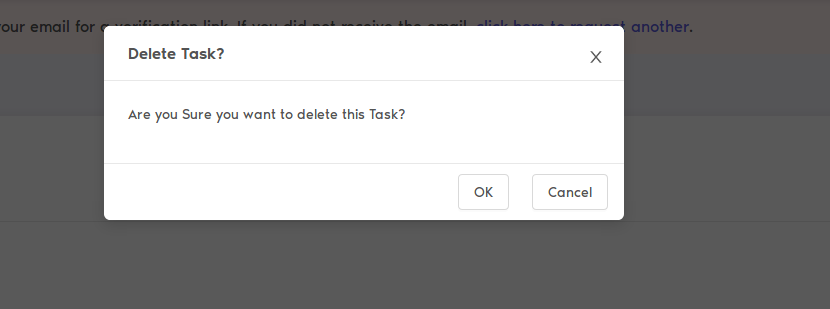
Click "OK" from the confirmation popup to confirm the deletion.
Adding Tasks List
For adding tasks list click "Add Task List". Fill the details in popup.

Hit "Add Task List" button.
Now, you can add Tasks under this.
Editing Tasks List
For editing task list hover over the task list. You will see pencil icon. Click on it. Popup will appear.

Update the information and Click Edit Task List.
Deleting Tasks List
For delting any task list hover over the task list and click the bin icon.
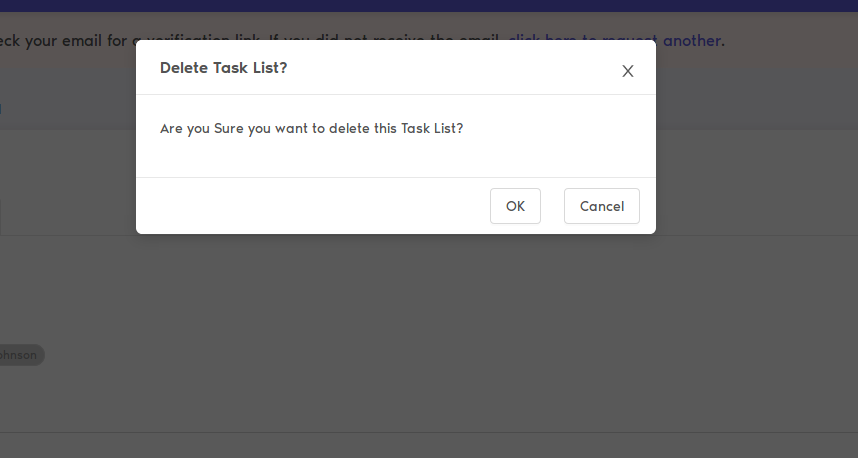
Click "OK" from the confirmation popup to confirm the deletion.
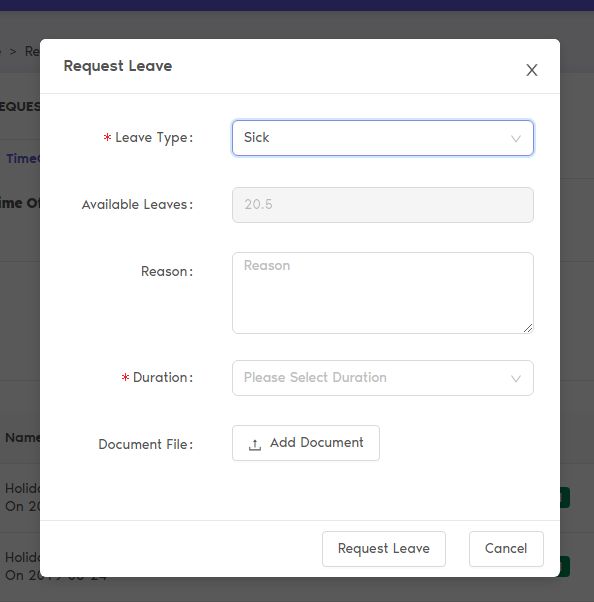
Requesting a Leave
To request a leave with CuteHR all you have to do it go to the Requests Page and click Request Leave

Fill in the appropiate fields and Click Request Leave.
You will come to know when your leave is approved , you may also cancel or modify your leave request from the same page.
If you modify your leave it will again go for approval.
Requesting a Reimbursement
If you have made an expense for the company which needs to be Reimbursed , like leaves you need to visit the Requests Page and this time select the Expense Tab.
There you will see the "Add Expense" Button , use that to bringup the expense form.

Fill in the expense details and it will be sent for approval.